The Market Brew System
Market Brew uses the See, Hear, Speak operating model: See structural patterns, Hear demand signals, and Speak through content that can be selected by search and AI systems.
Market Brew is organized around one operating model: See. Hear. Speak. Use the manual from that frame first, then choose the specific tool that matches the work.
| Workflow | Purpose | Primary tools |
|---|---|---|
| See | Understand site structure, templates, internal links, crawl behavior, topical coverage, and modeled ranking environments. | Ranking Sensors, Flight Plans, Top Tasks, Data Discovery, Ranking Factors, Forecasting. |
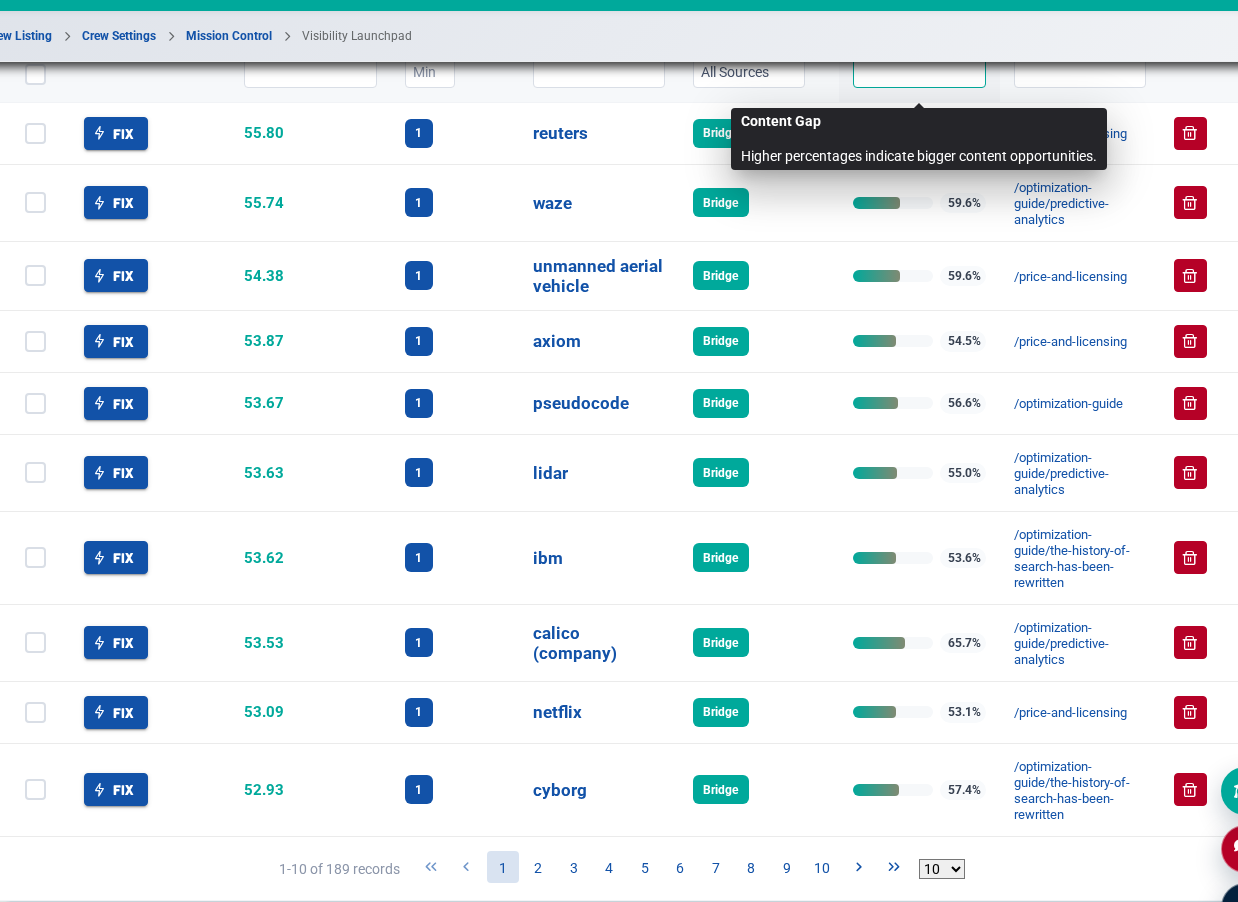
| Hear | Capture what audiences, competitors, and the market are asking for before deciding what content action is justified. | Ask, Listen, Keyword Fueler, Bridge, EyesOver Social Media Monitoring, Launchpad. |
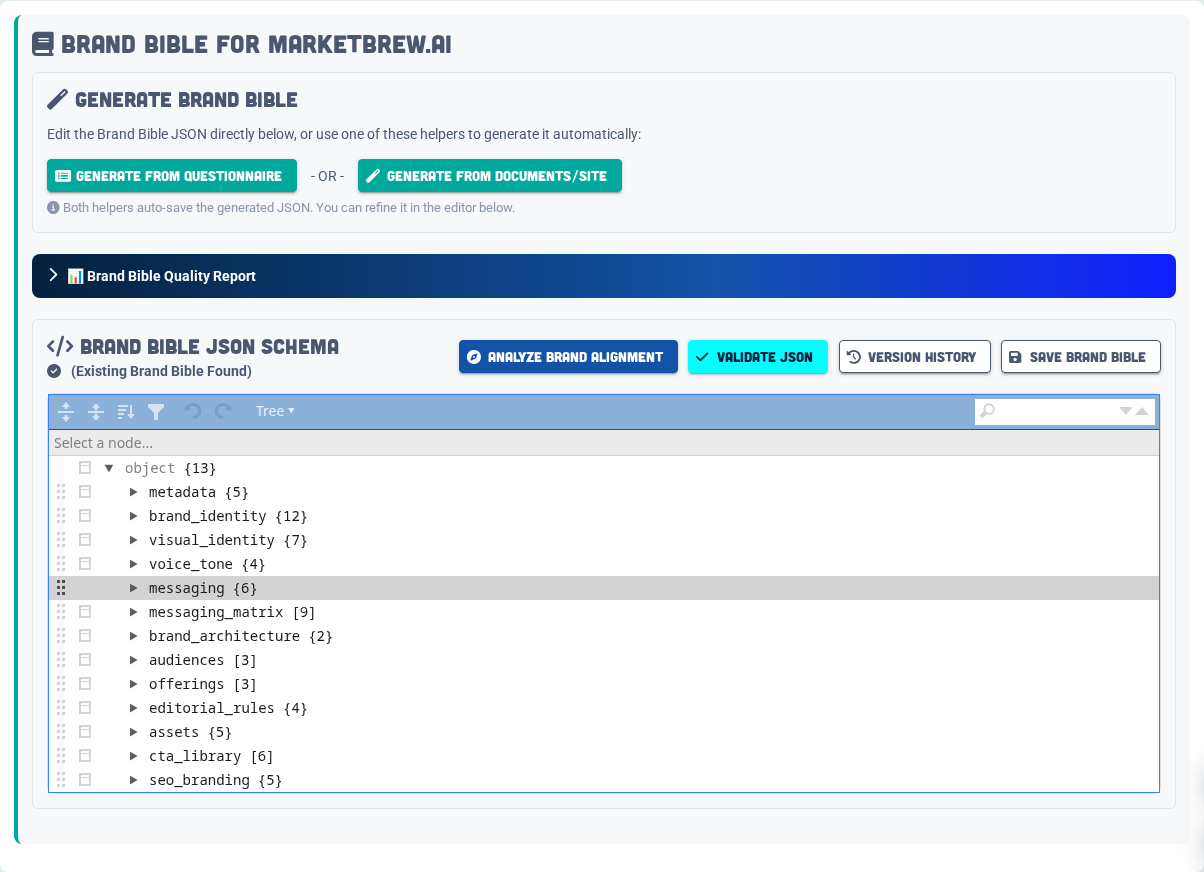
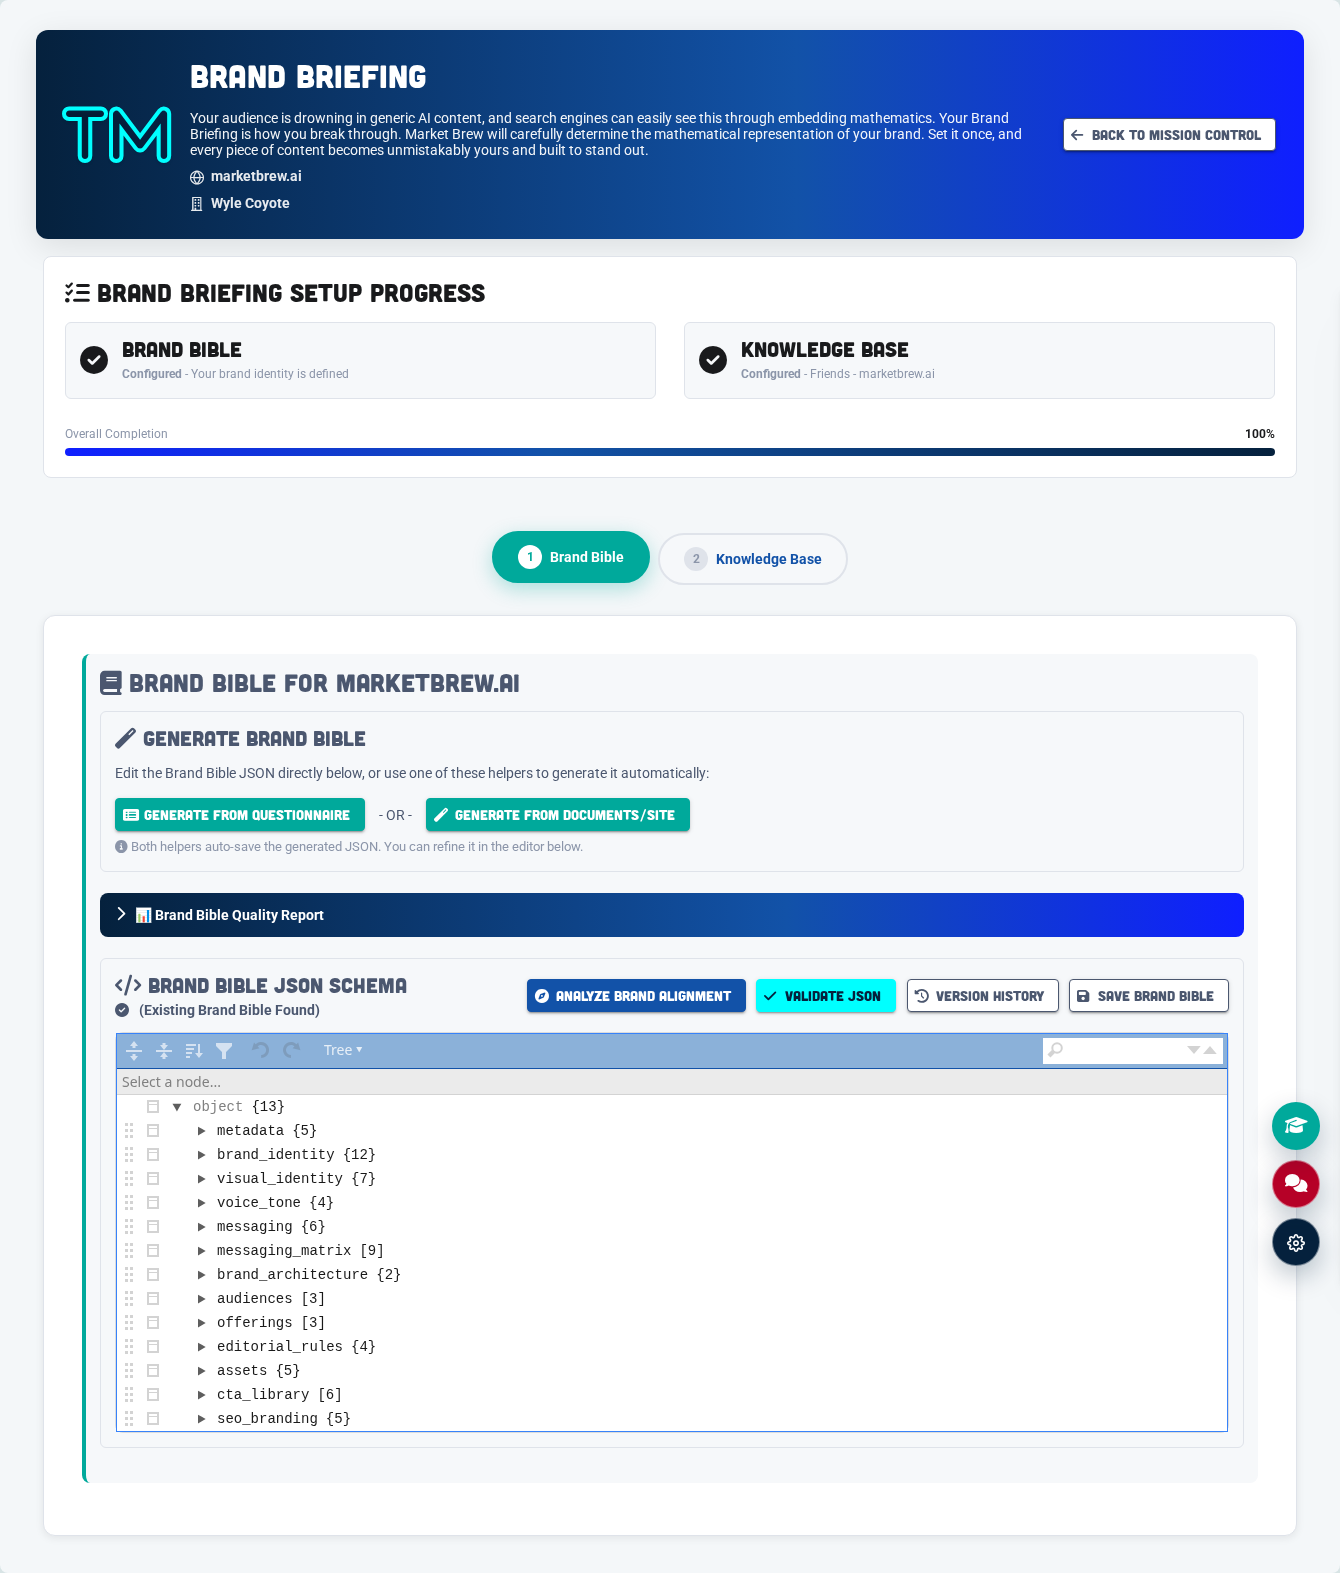
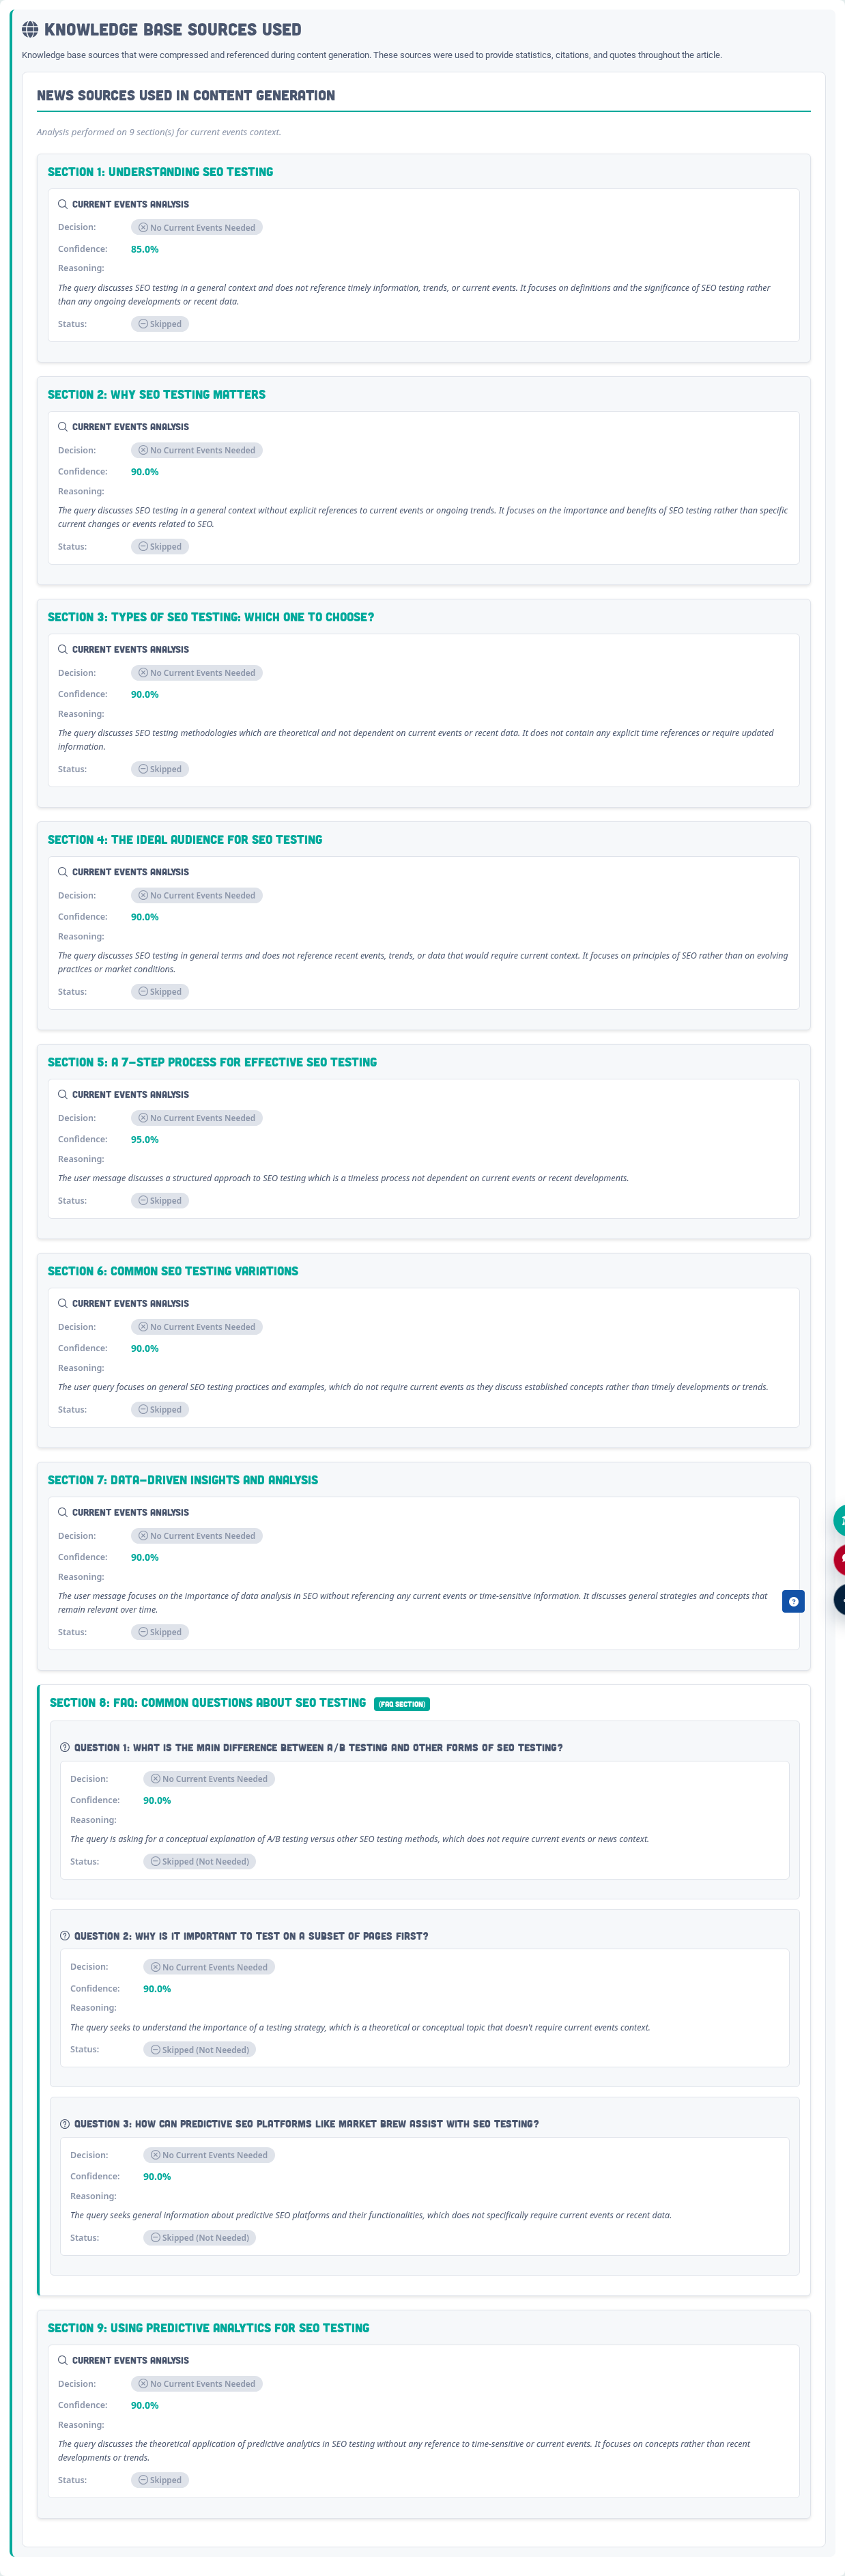
| Speak | Create or improve content after demand, intent, and page fit are clear. | Brand Briefing, Knowledge Base, AI Content Dashboard, Content Booster, current-content tools. |
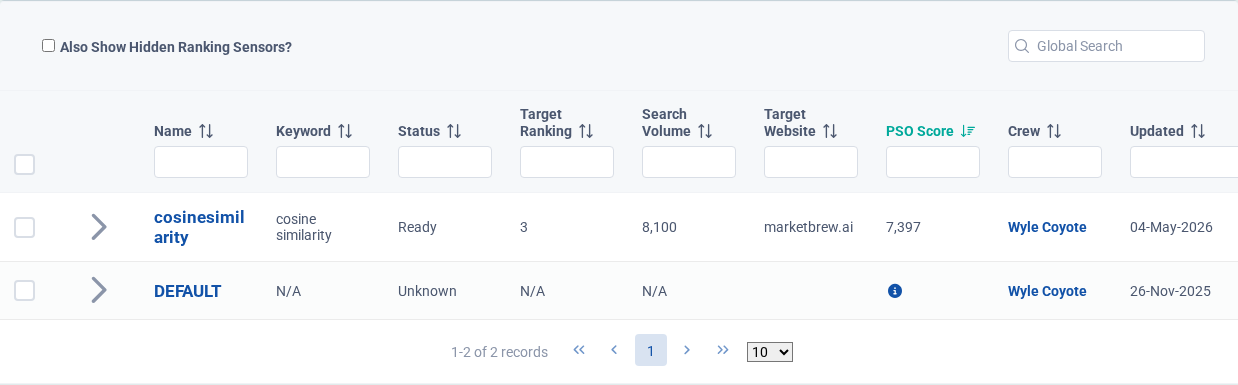
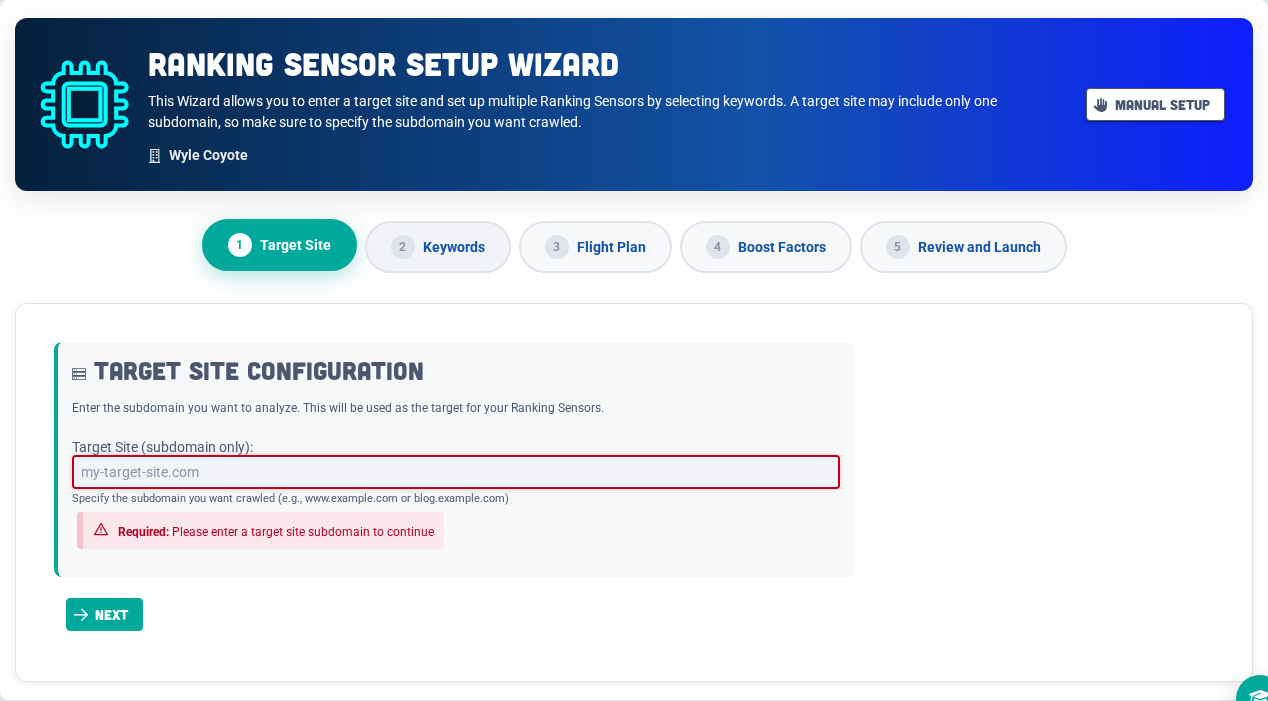
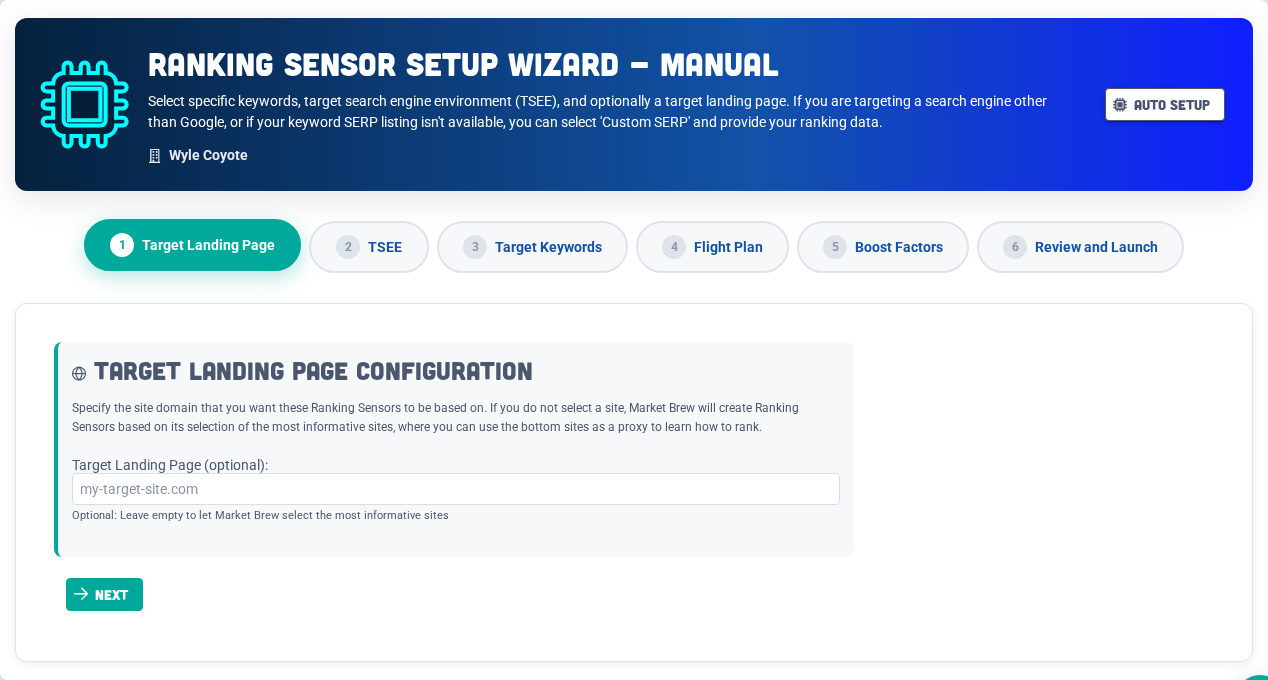
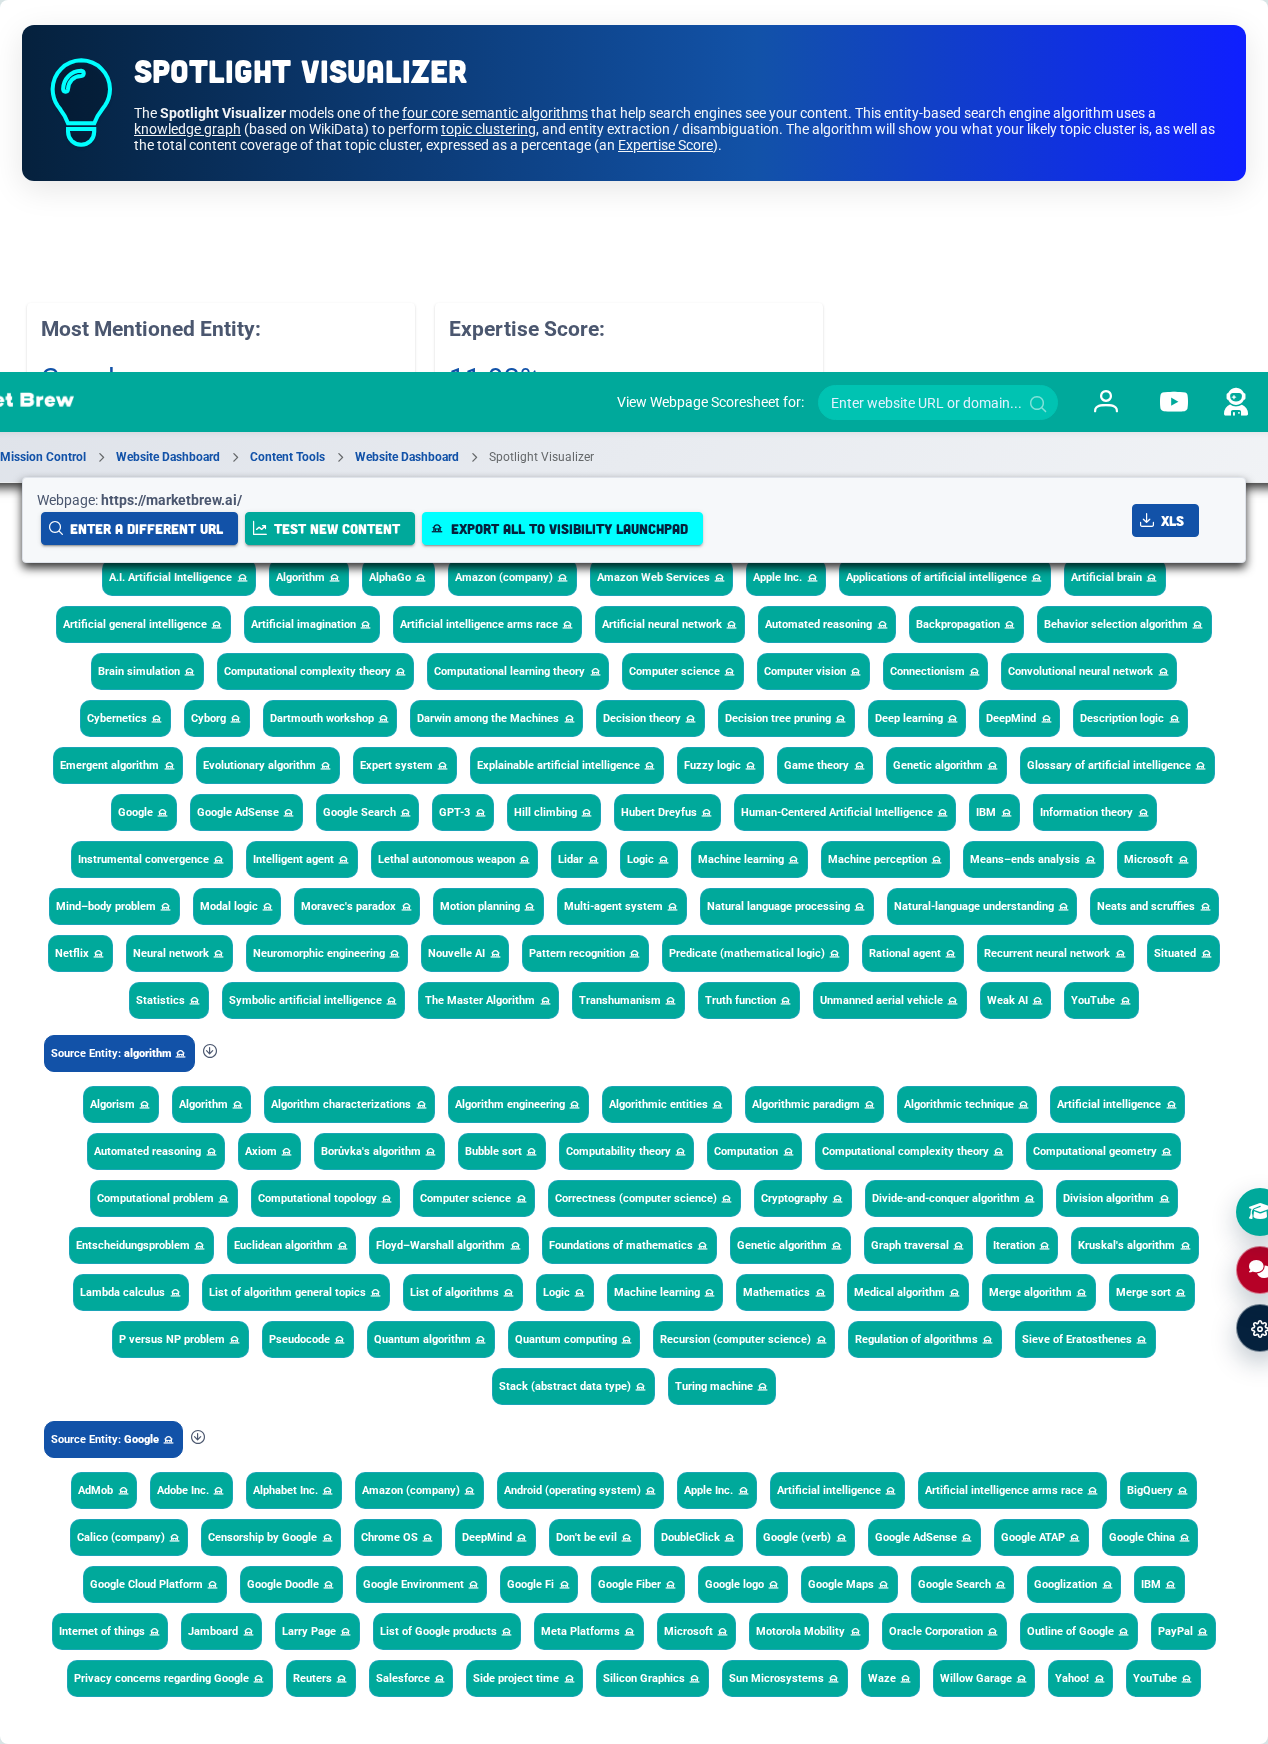
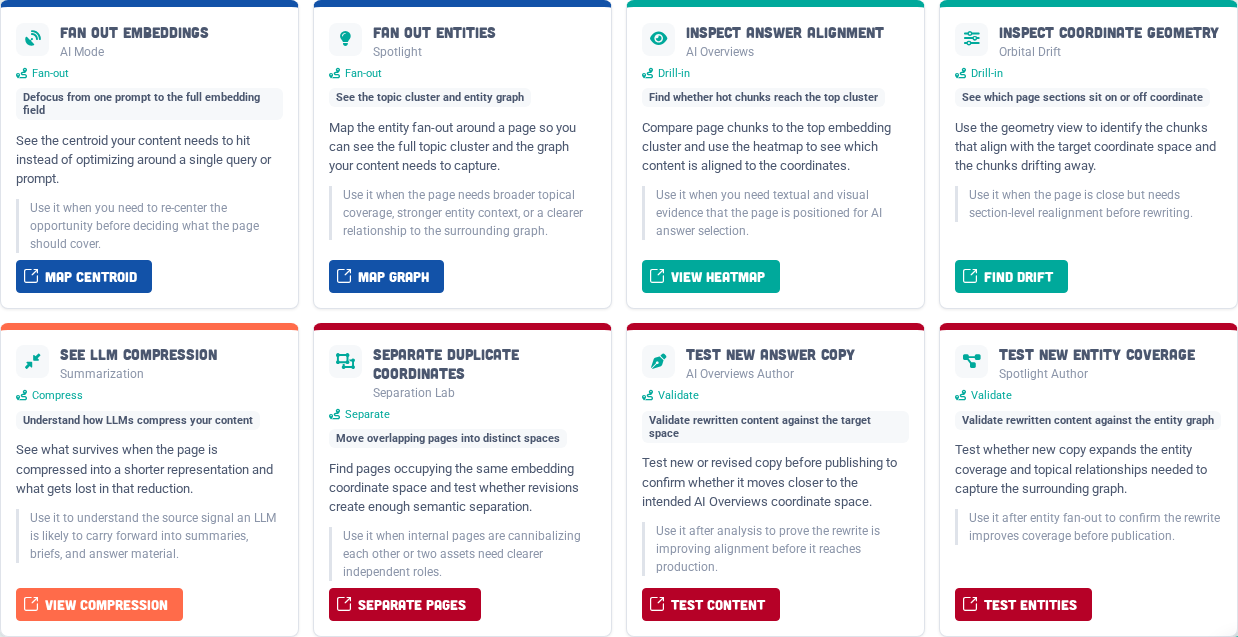
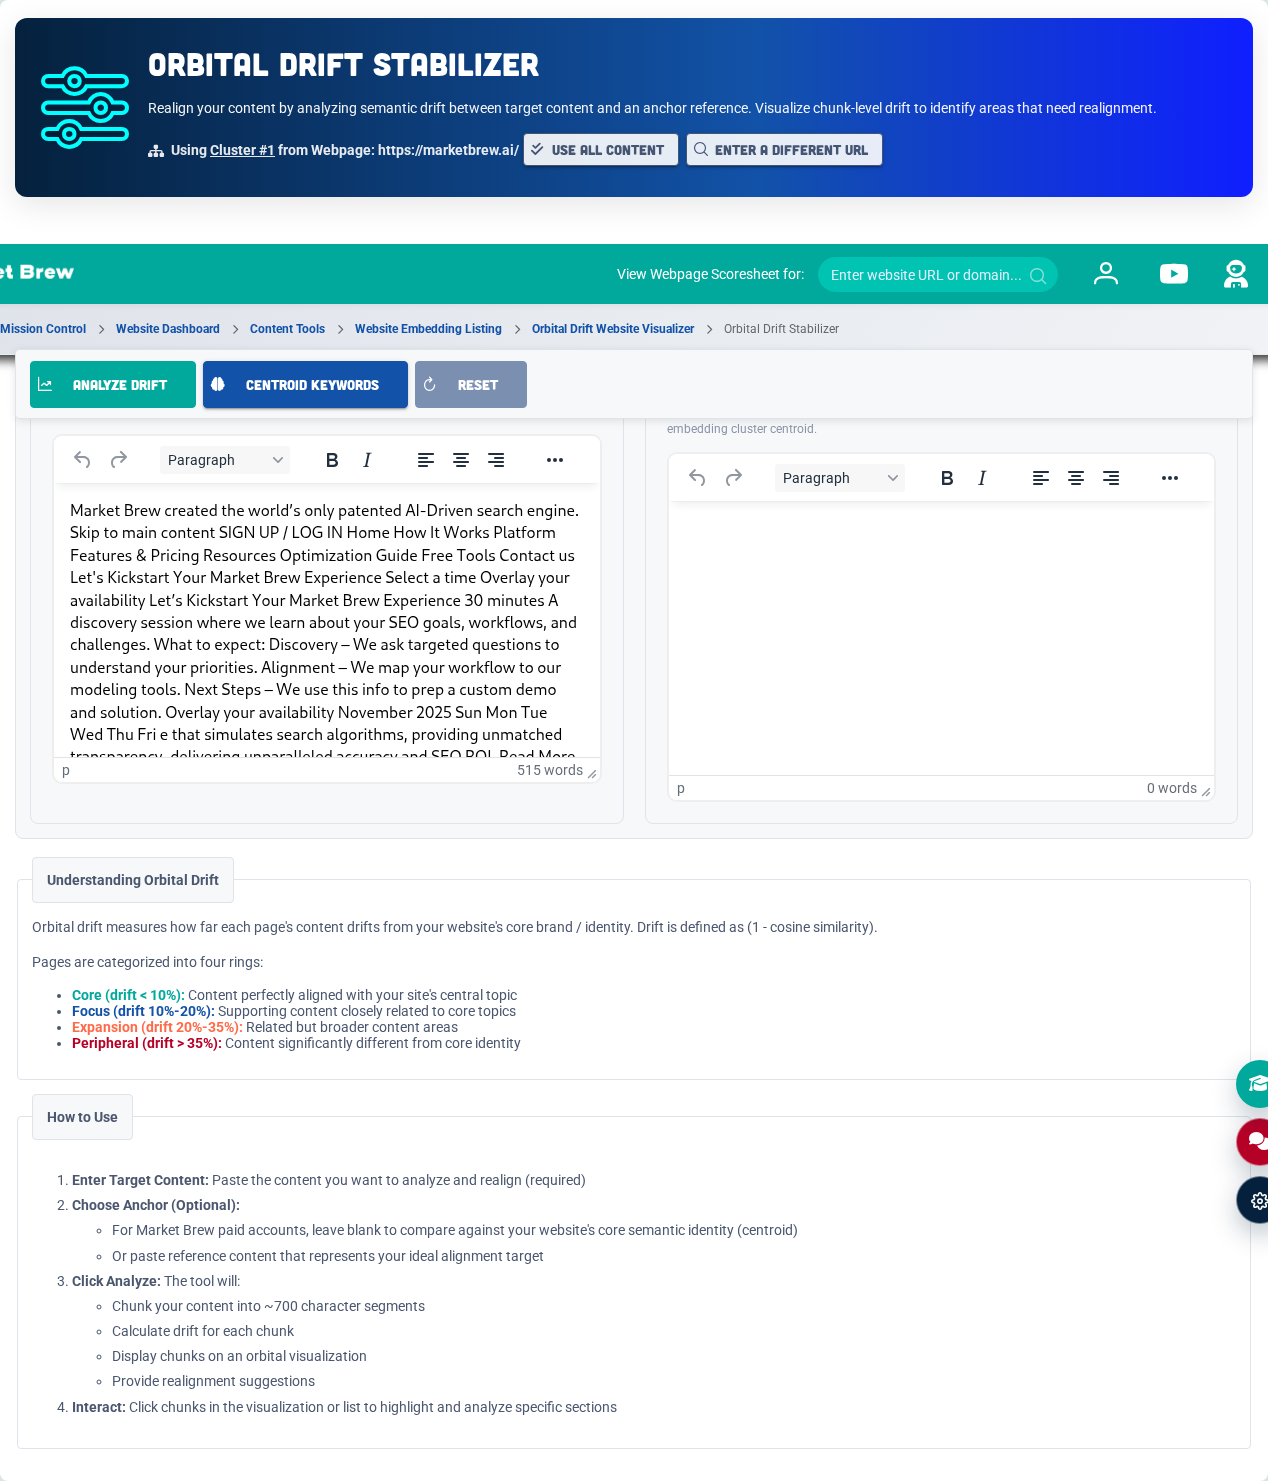
See is template-first, not keyword-first. Ranking Sensors use calibration queries as statistical inputs to reveal structural issues across architecture, templates, internal linking, topical coverage, and competitive structural gaps. The calibration query may be a non-hero query because the goal is to expose the underlying pattern, not optimize for that exact term. Calibration is stronger when the model sees variation: use different representative target pages and different calibration queries within the same template or section instead of repeating the same 3-5 target pages.
If you want to optimize a hero keyword where you already rank highly, do not use a Ranking Sensor as the primary workflow. A high-ranking hero query usually has too little movement room to calibrate the model reliably, and one sensor should not be treated as truth. Use the AI Content Dashboard and Content Booster for that specific SERP, keyword, or prompt.
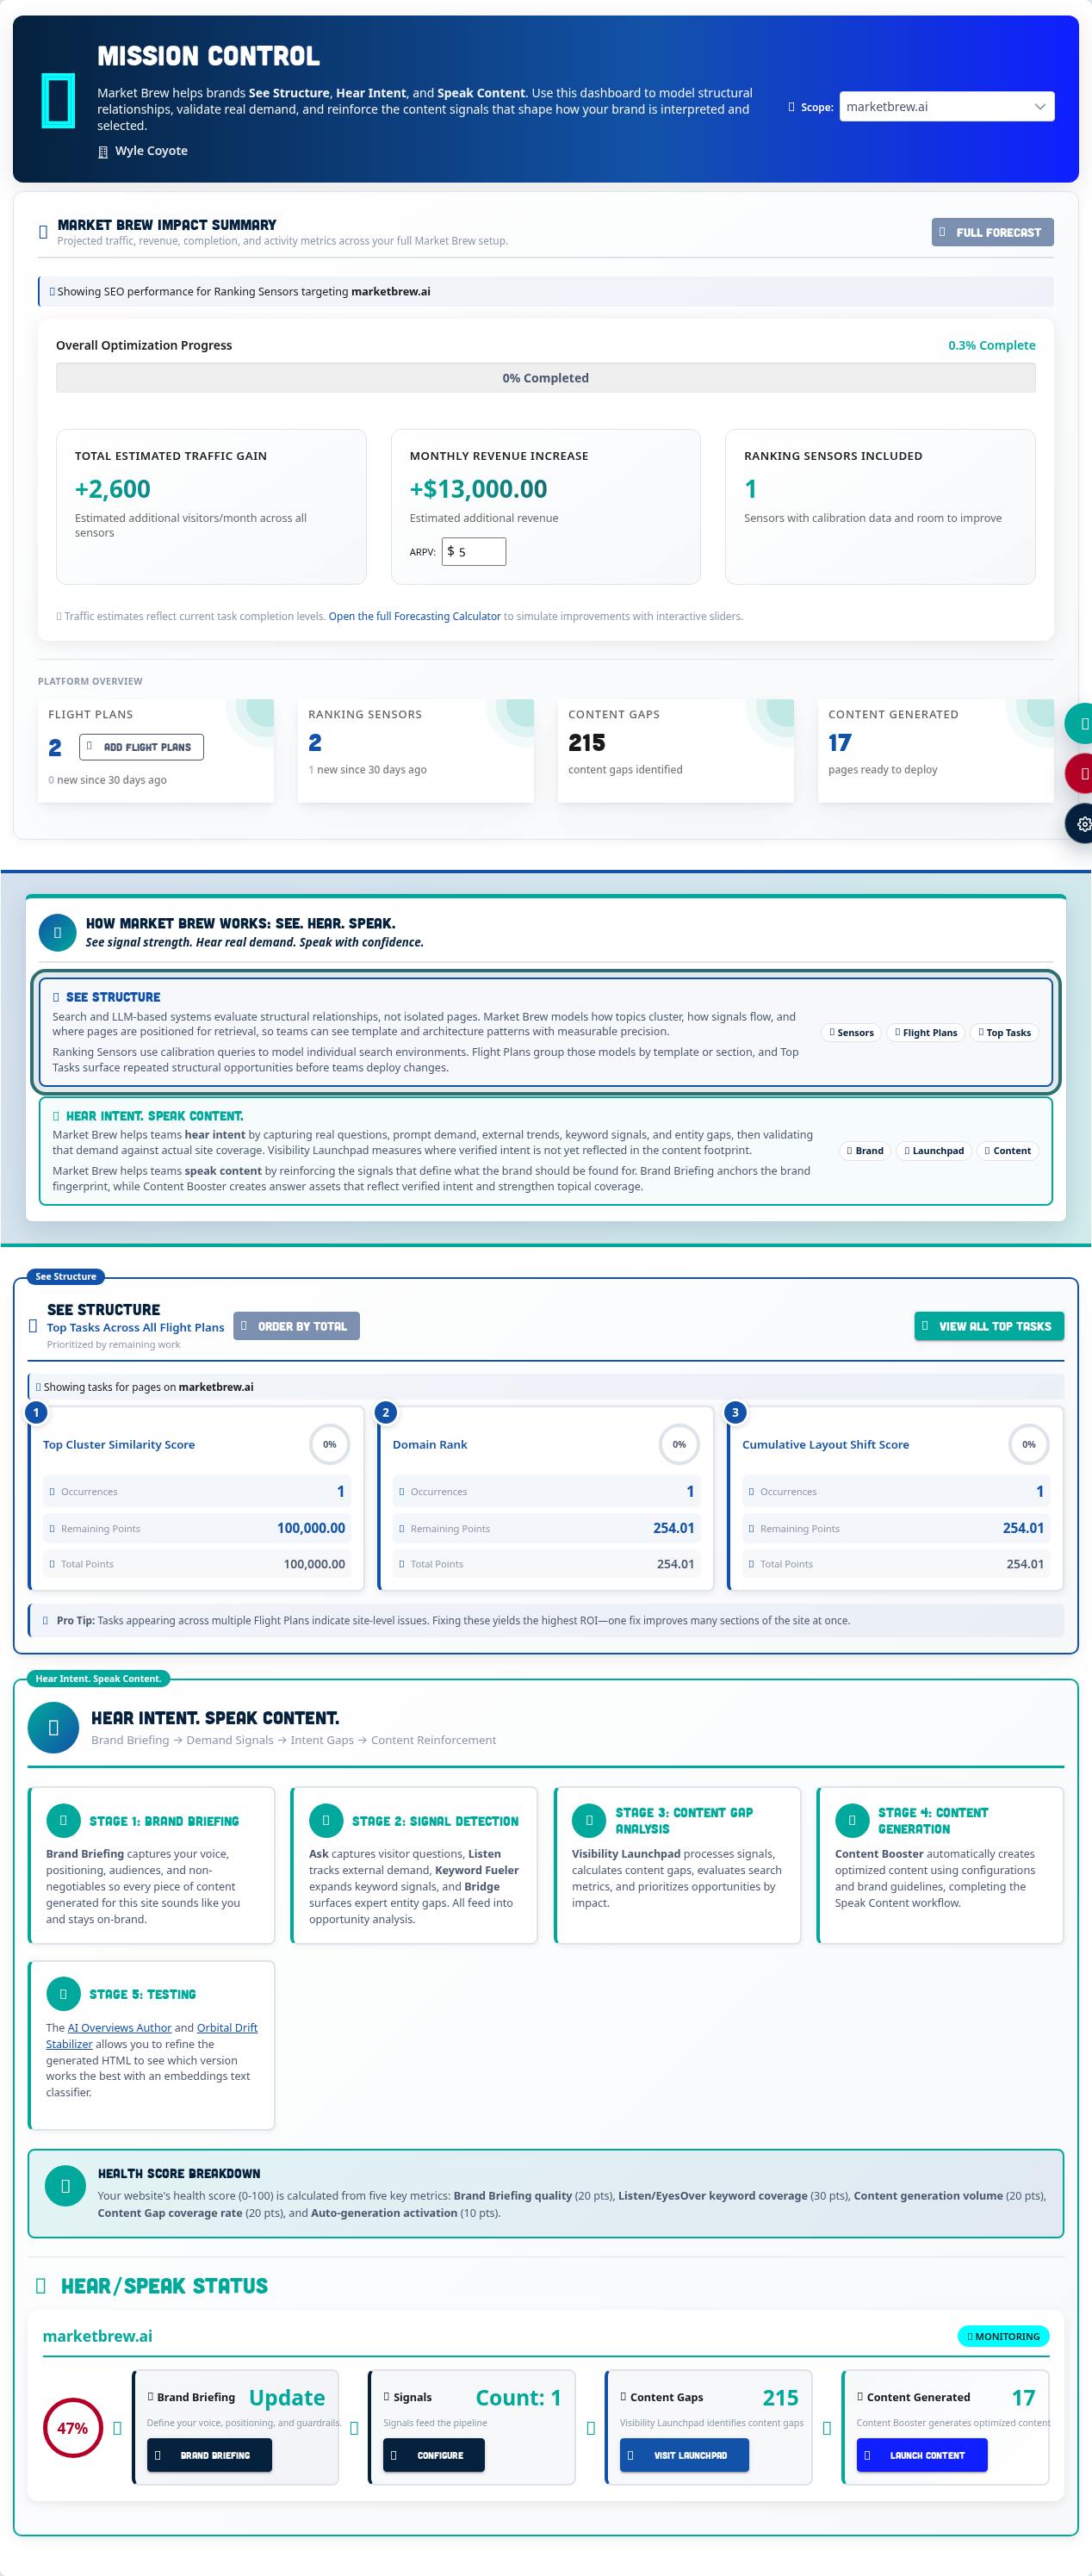
System Flow
Website Crawl
Every journey starts with a website crawl. Market Brew maps pages, templates, internal links, crawl behavior, content embeddings, and ranking context so the system can compare the site against real search environments.
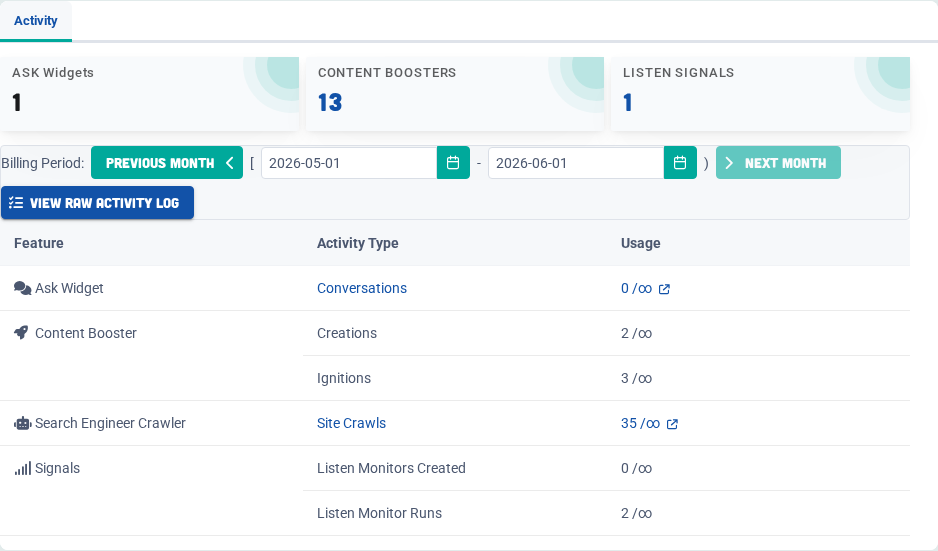
Signal Generation
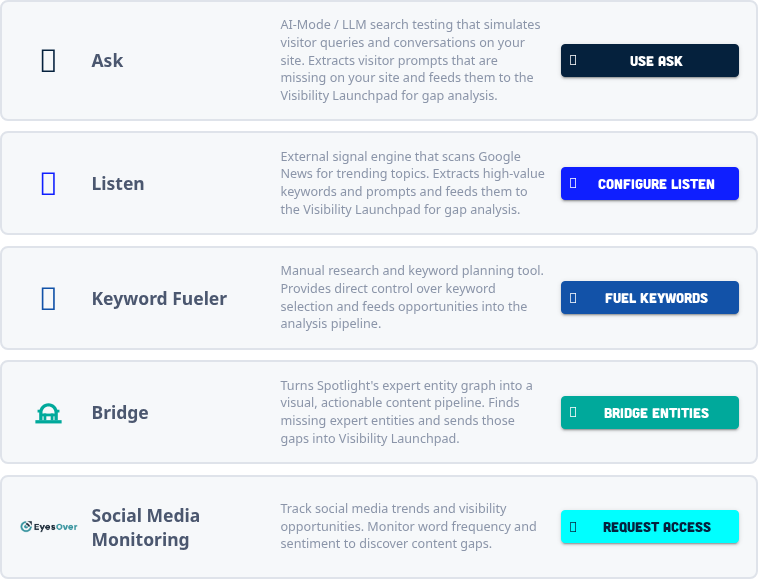
Signal Generation includes Ask, Listen, Keyword Fueler, Bridge, and EyesOver Social Media Monitoring. These signals feed Launchpad so the team can decide which demand deserves action.
| Signal | What it contributes |
|---|---|
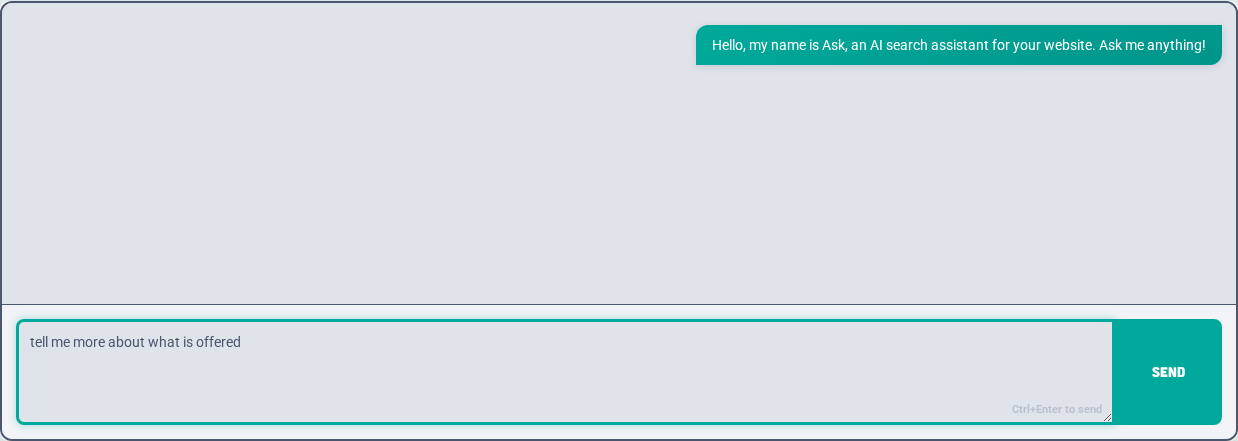
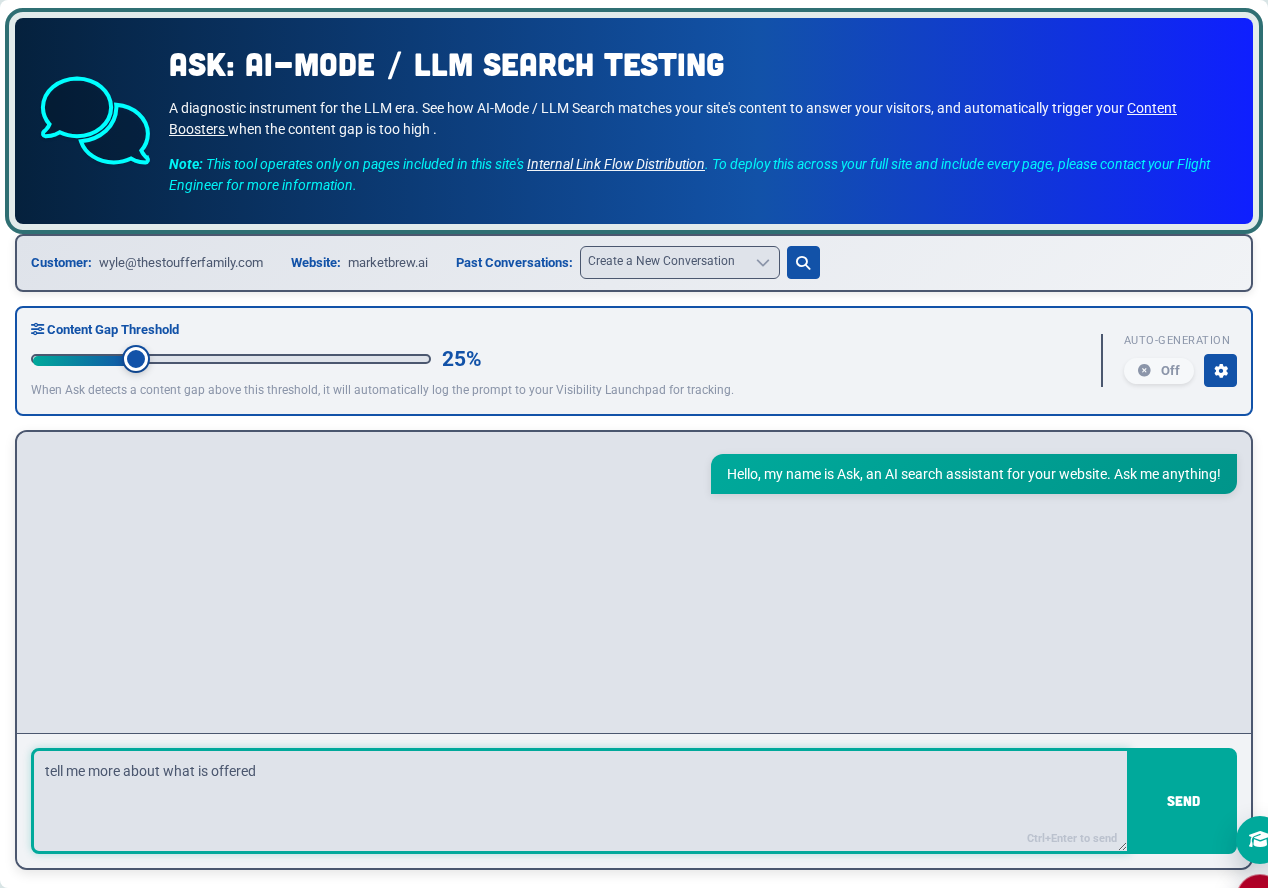
| Ask | First-party questions, prompts, answer gaps, and citation-fit evidence from the site experience. |
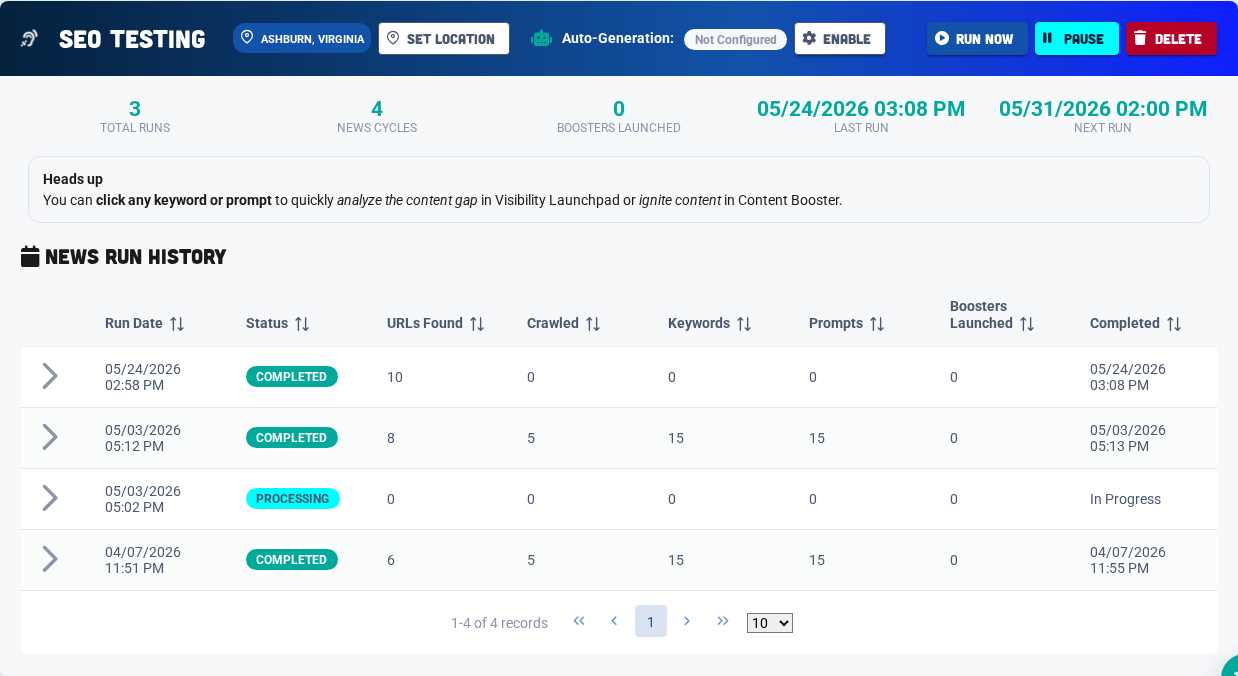
| Listen | External news, trends, and monitored phrases that reveal emerging demand. |
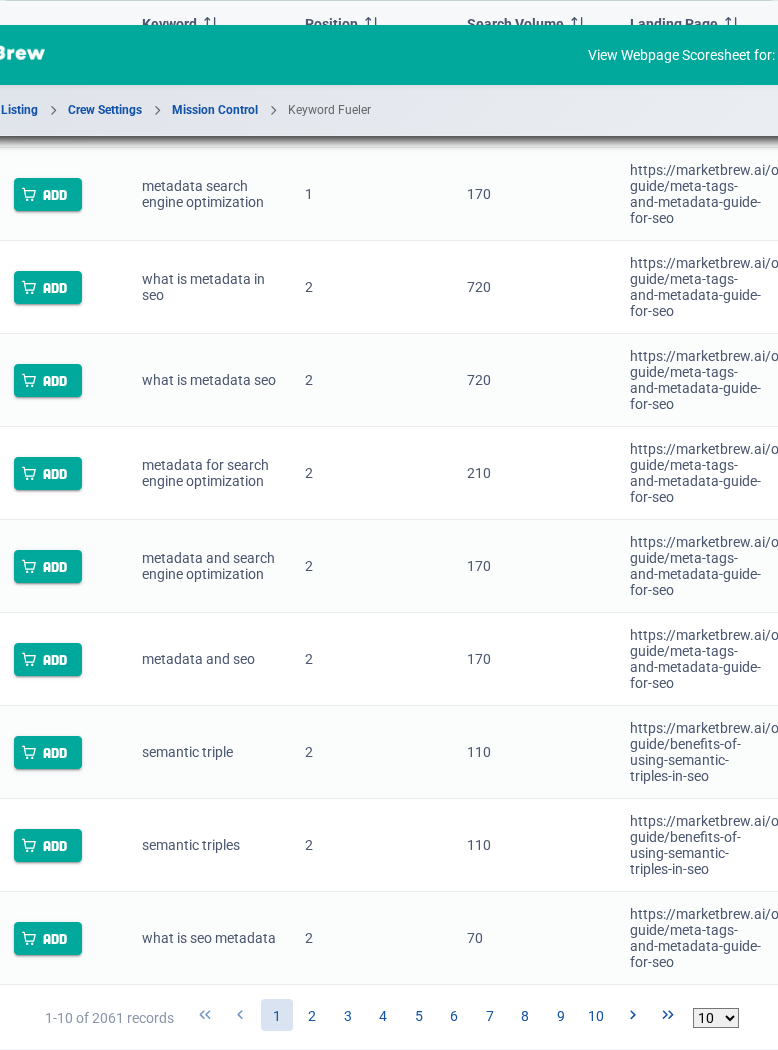
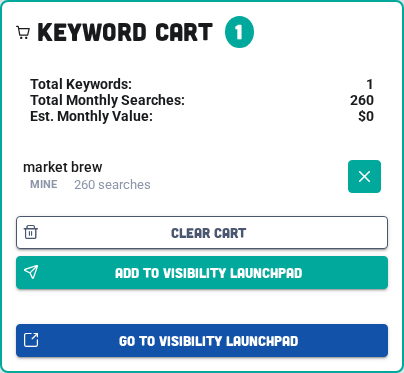
| Keyword Fueler | Keyword demand, PPC/SEO ideas, competitor terms, and seed expansion. |
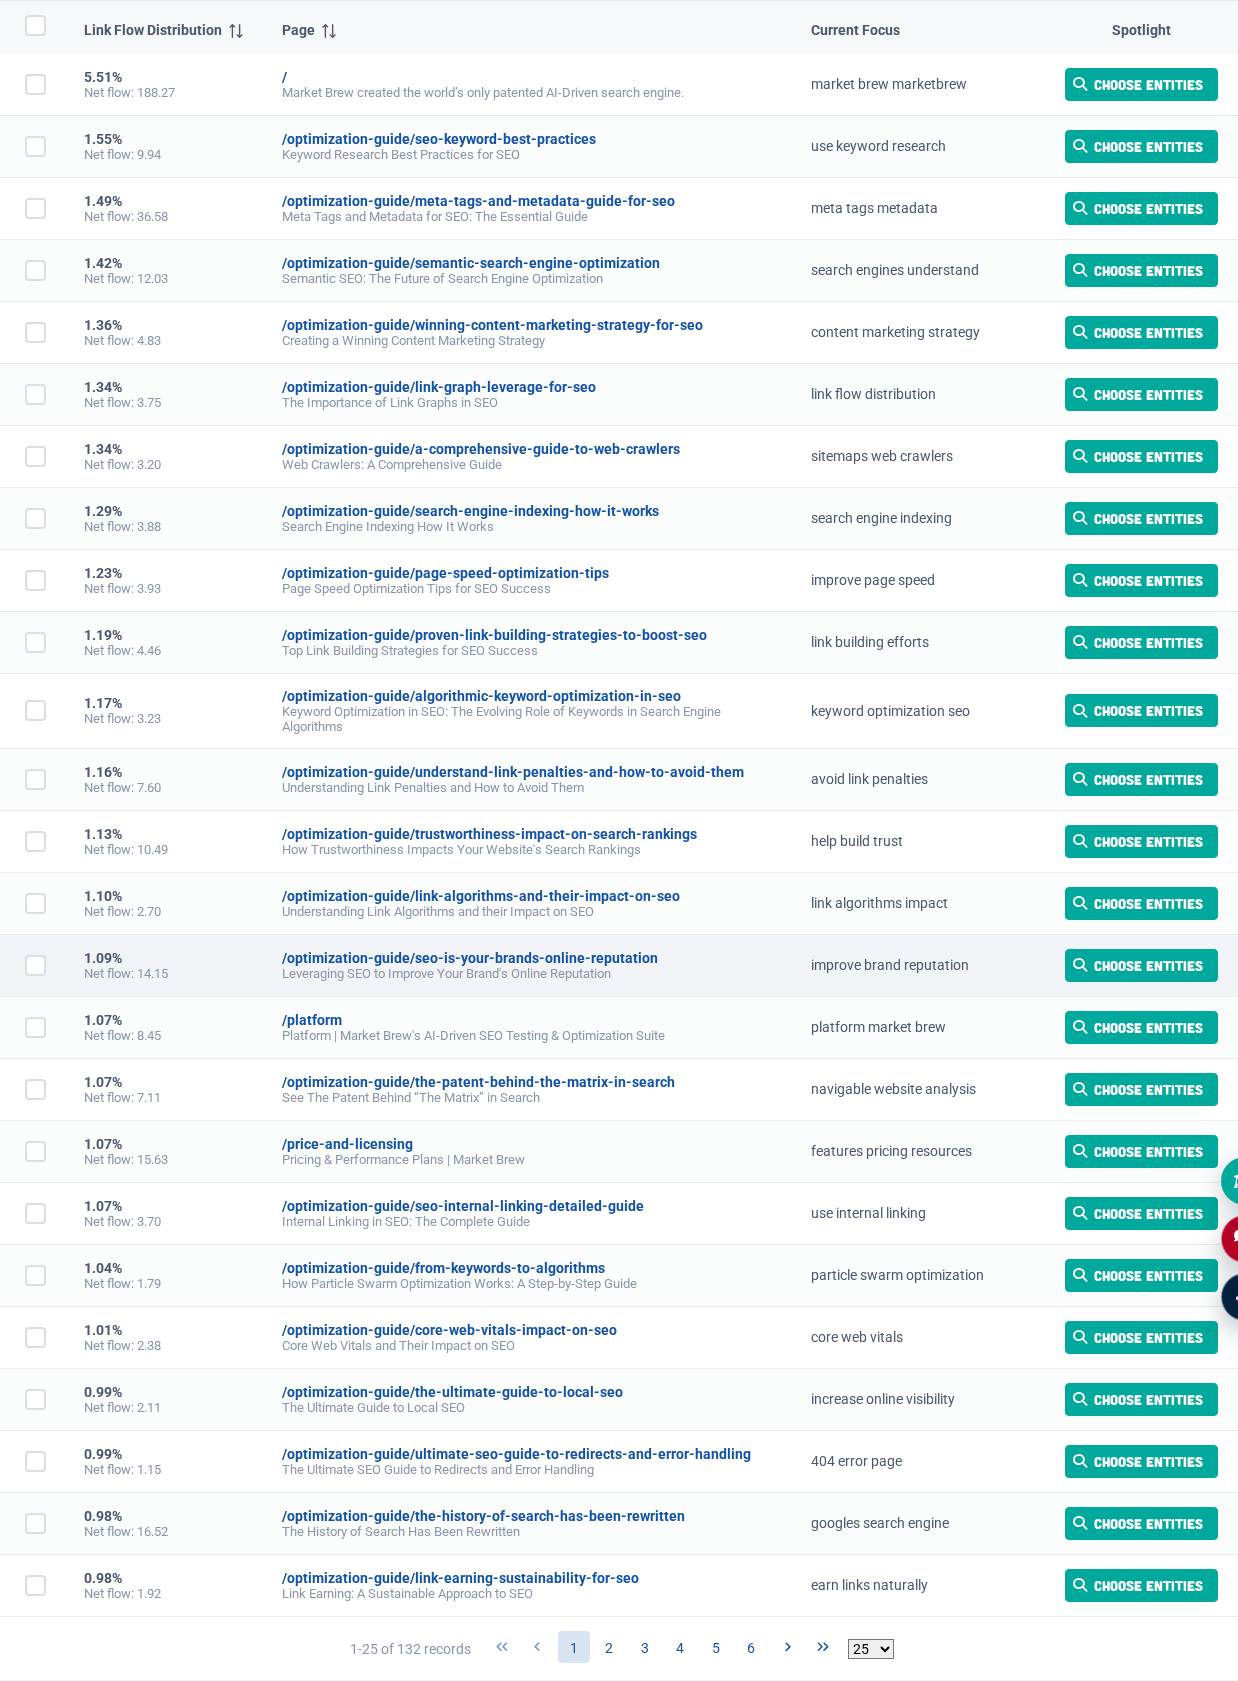
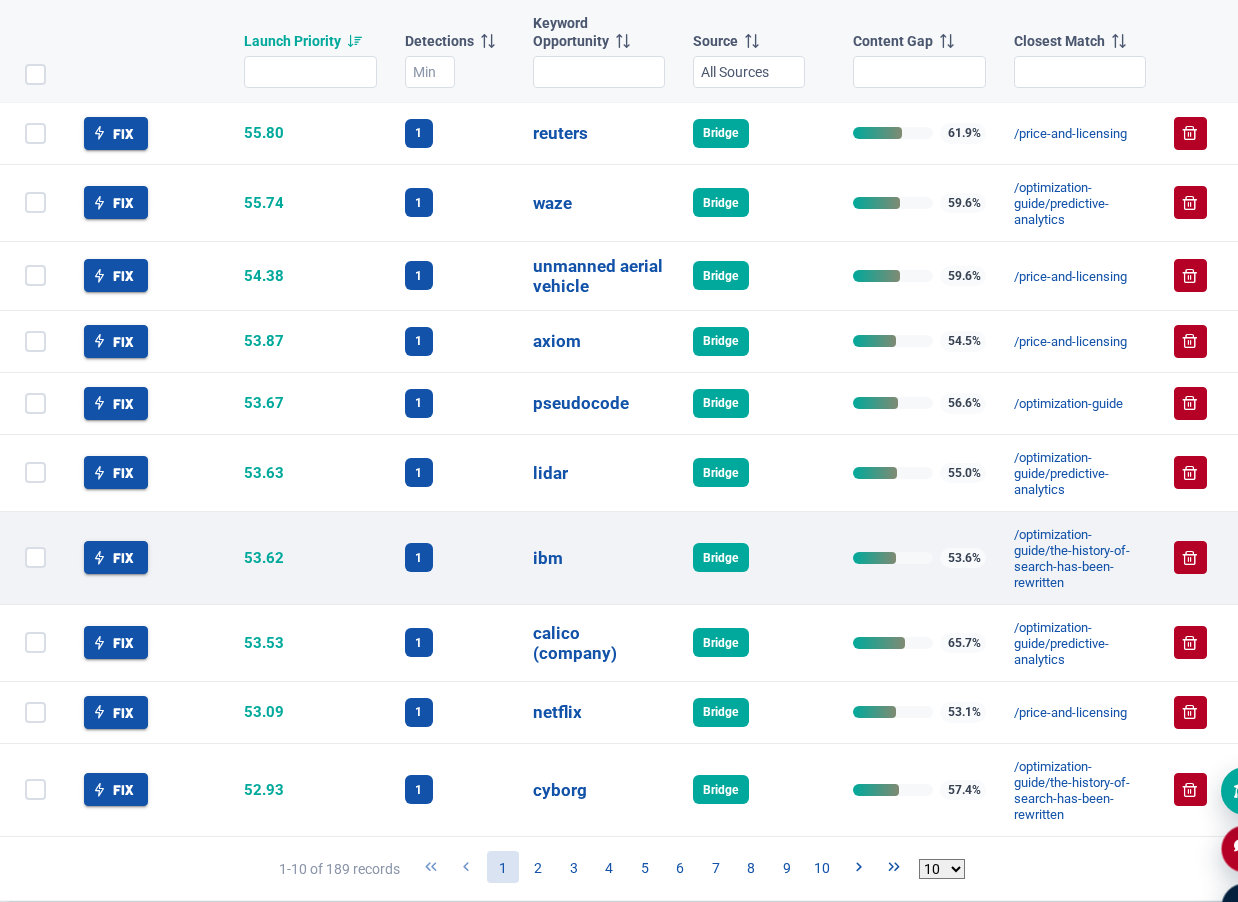
| Bridge | Expert entity gaps from Spotlight that can become content opportunities. |
| EyesOver Social Media Monitoring | Social and market conversation signals that can surface demand before it appears in traditional keyword data. |
Opportunity Prioritization
Launchpad ranks prompts, keywords, entities, and content gaps using the available signals, site embeddings, and page-fit evidence. It decides what deserves content work; it is not a replacement for Ranking Sensors when the question is structural.
Content Action
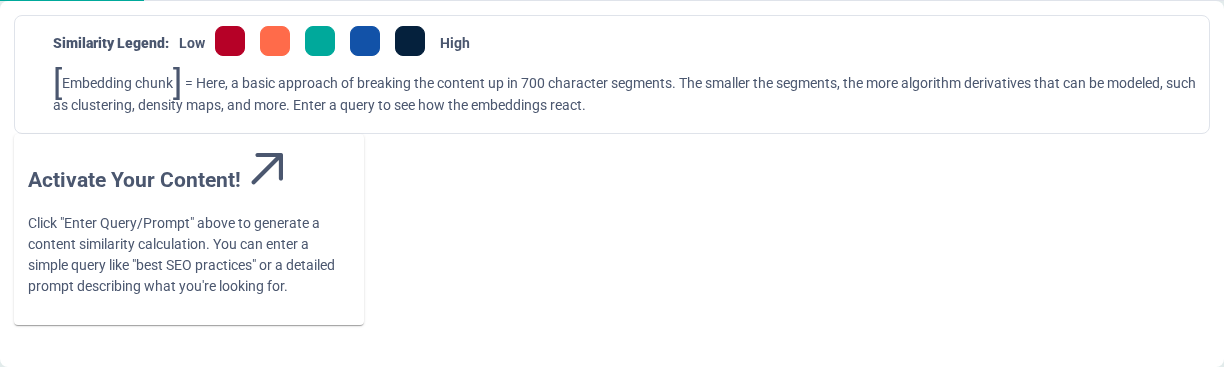
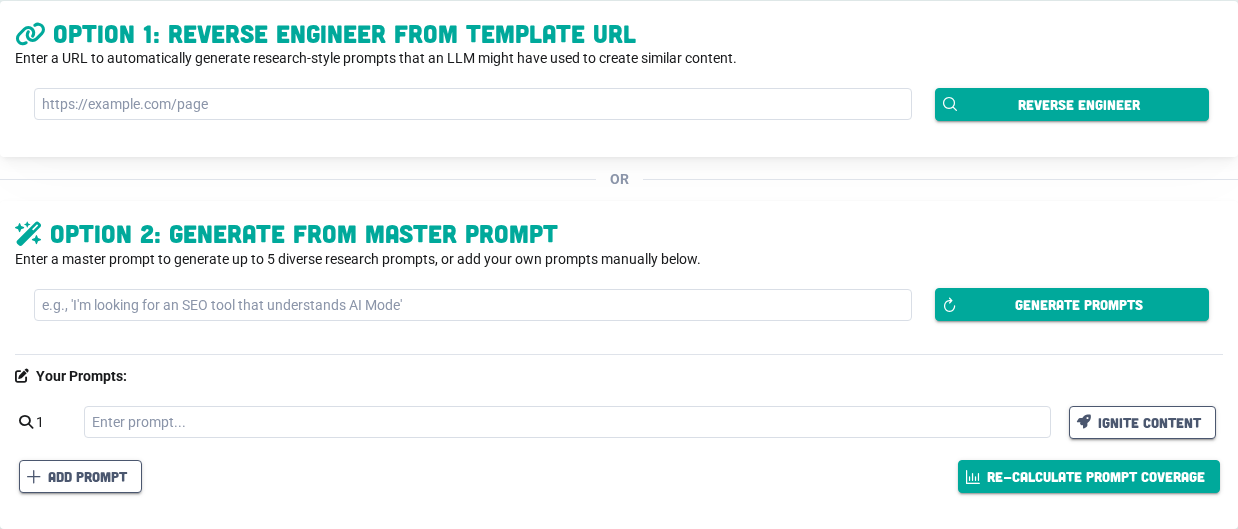
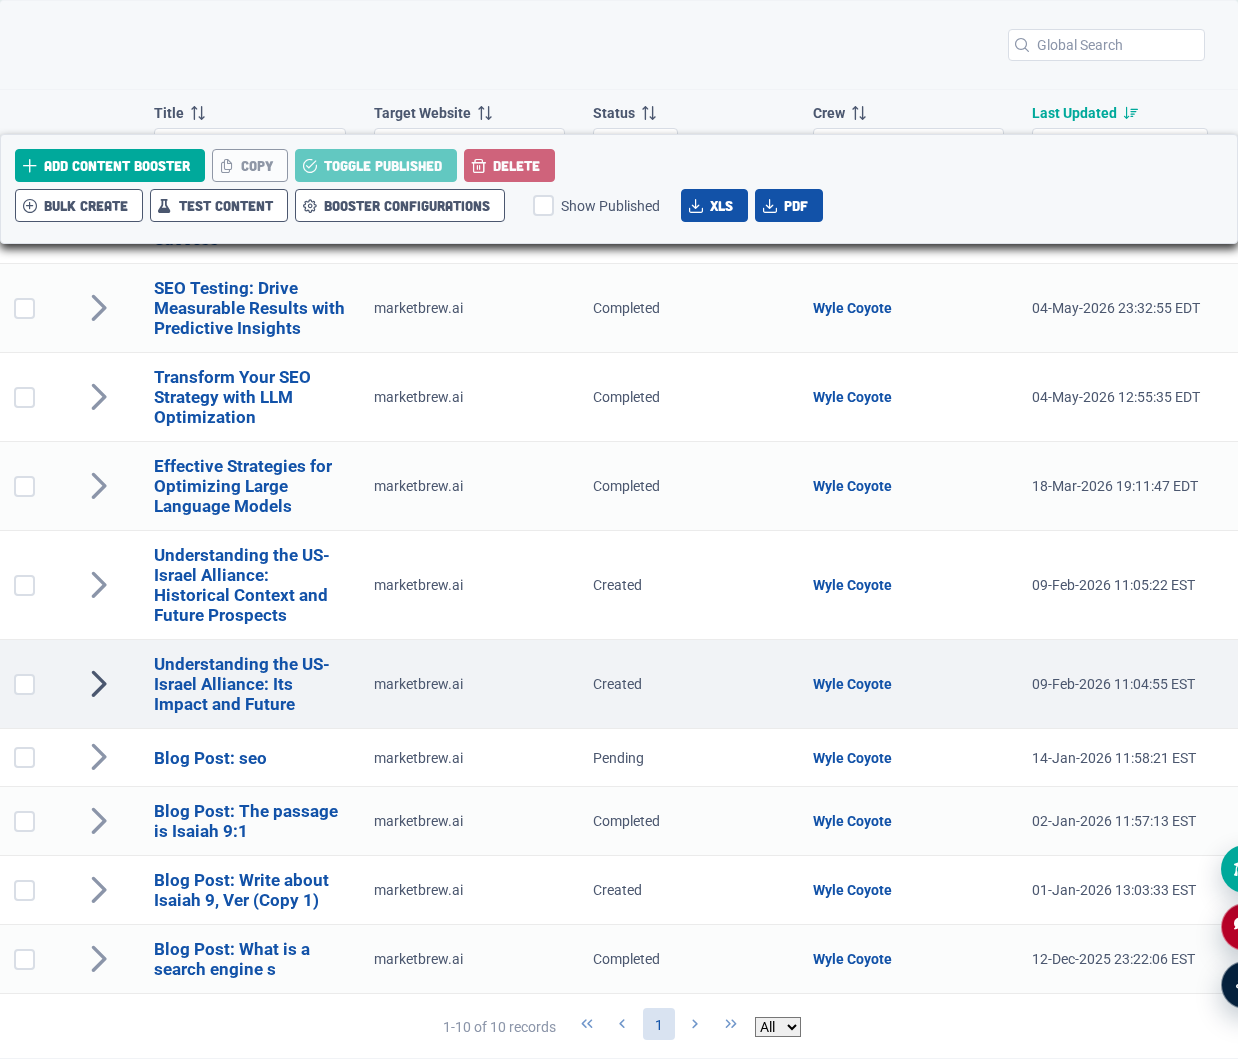
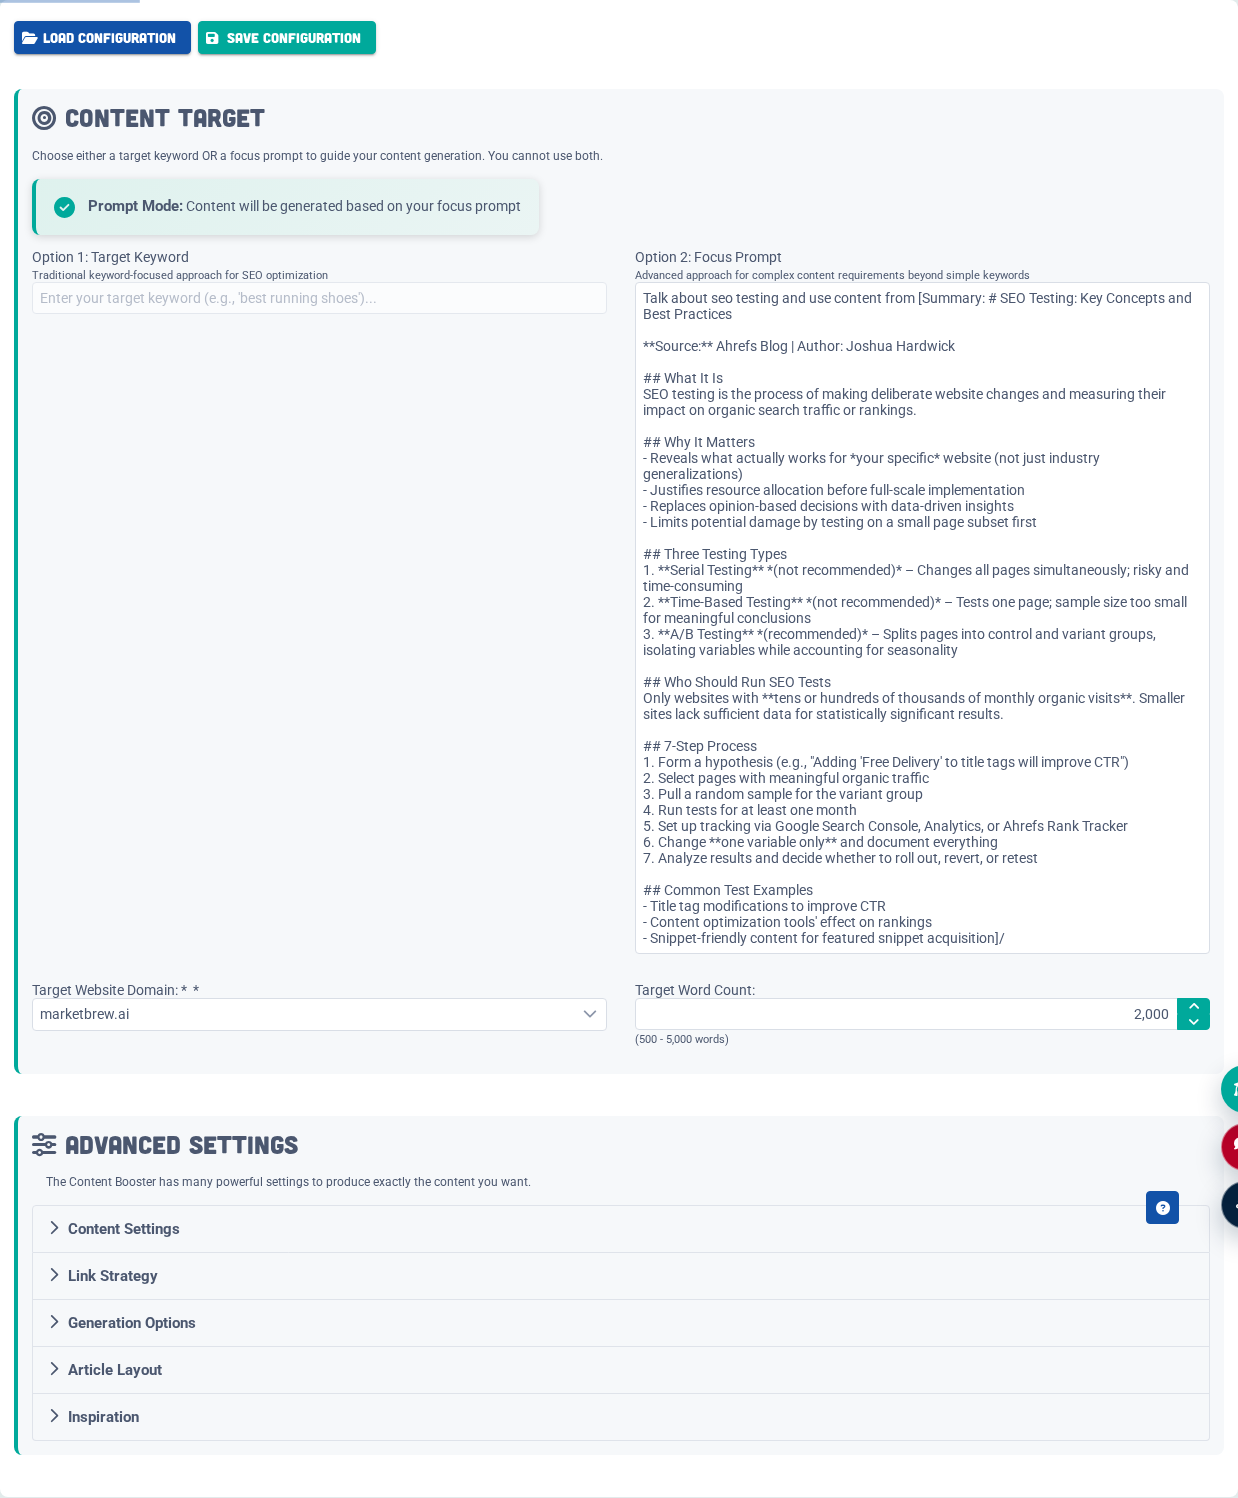
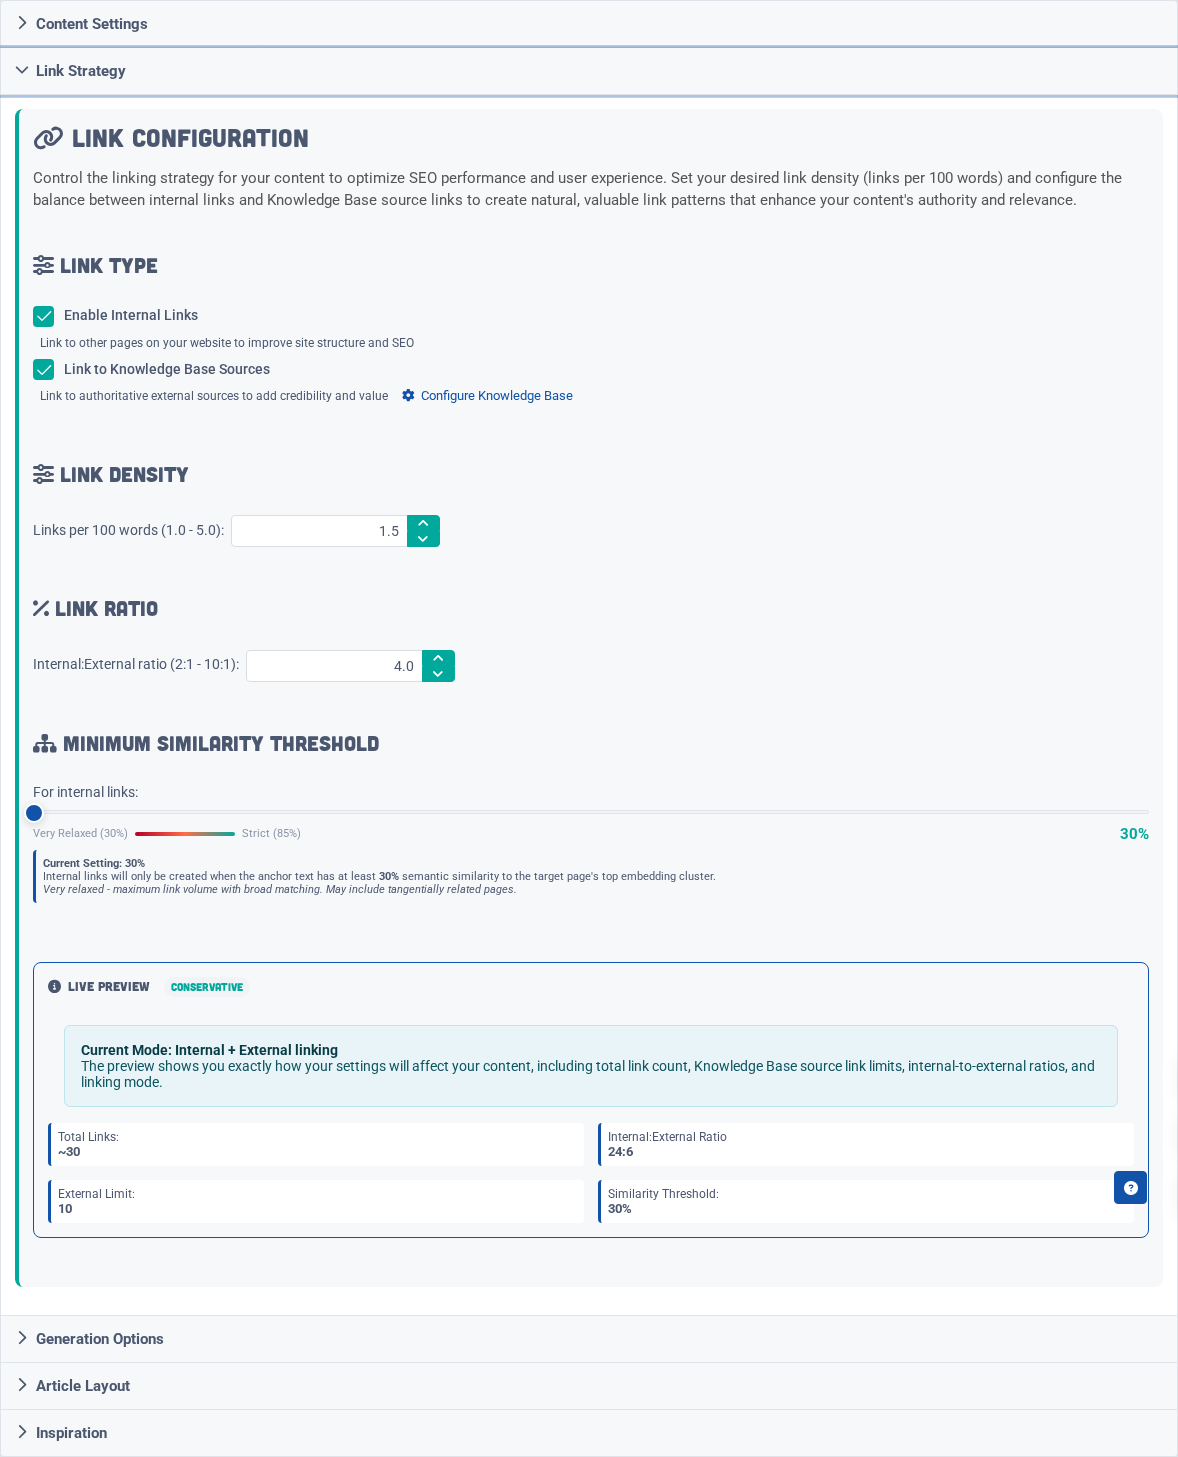
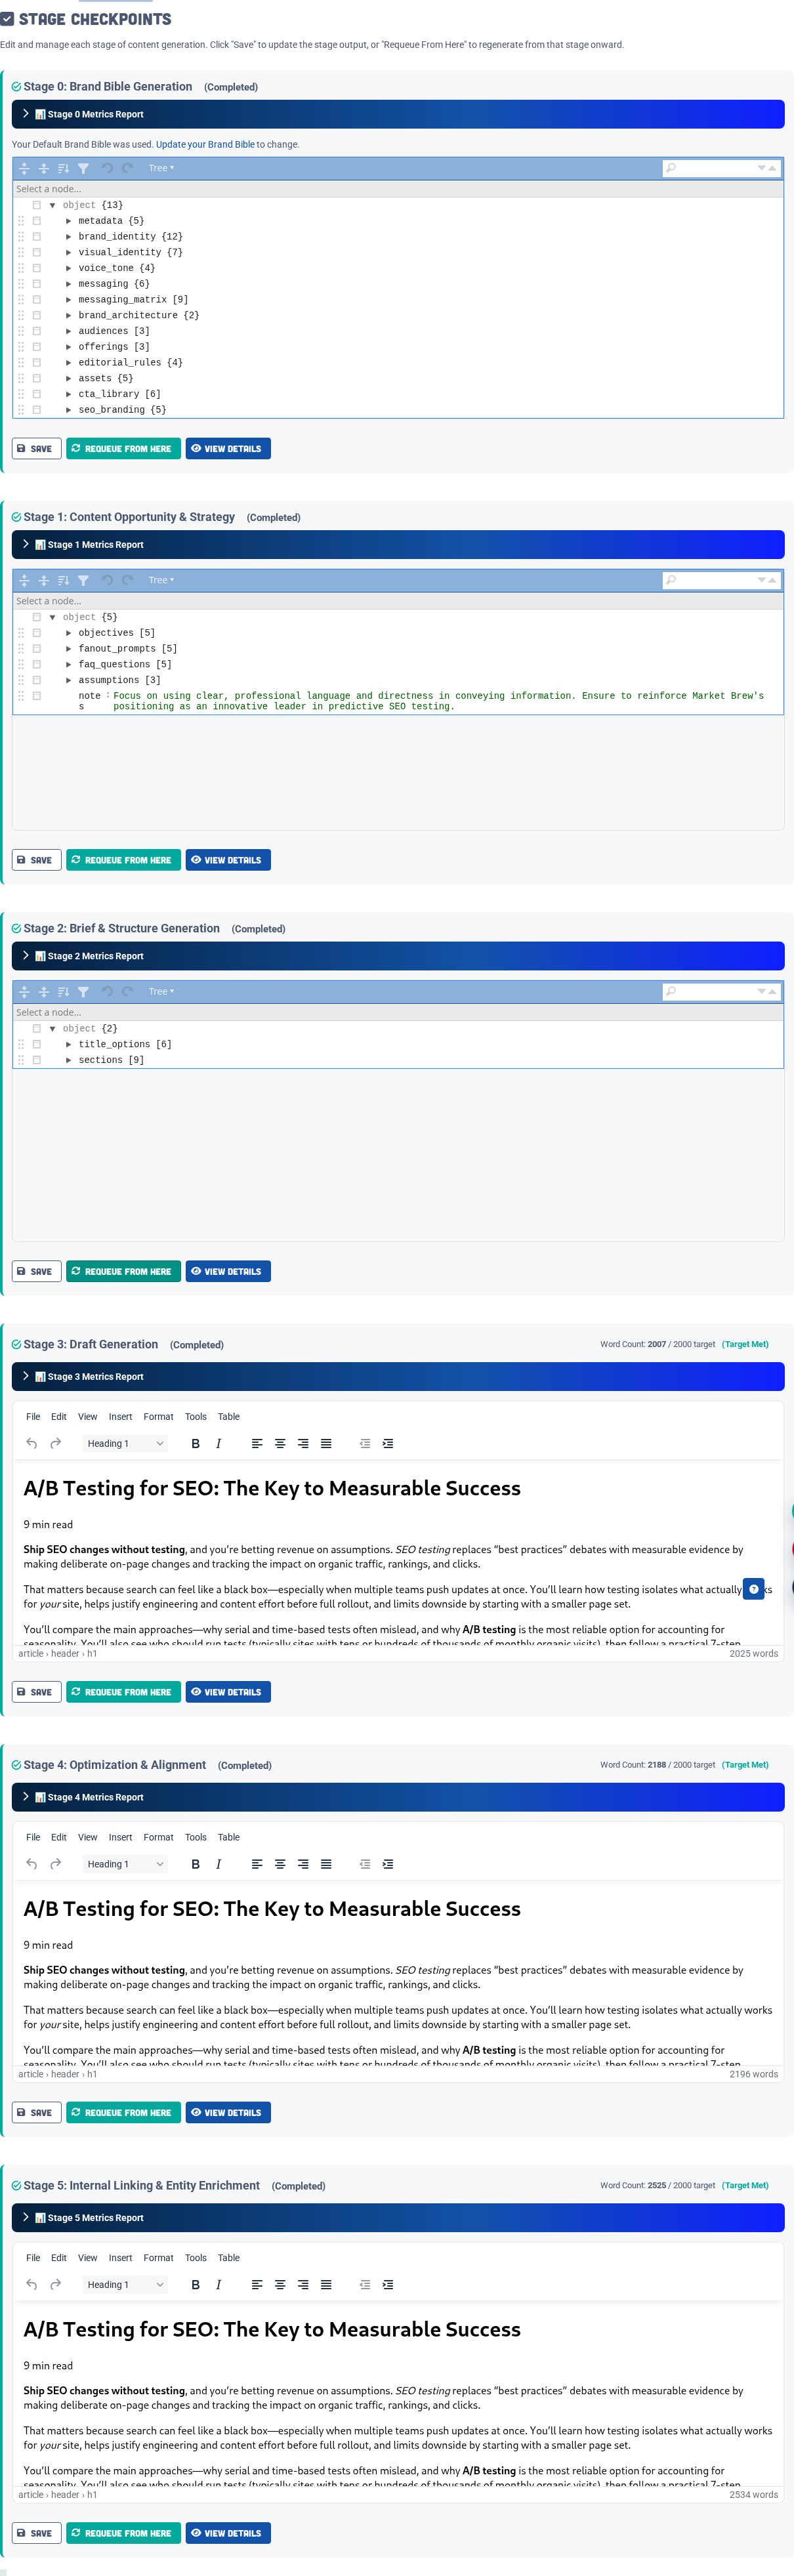
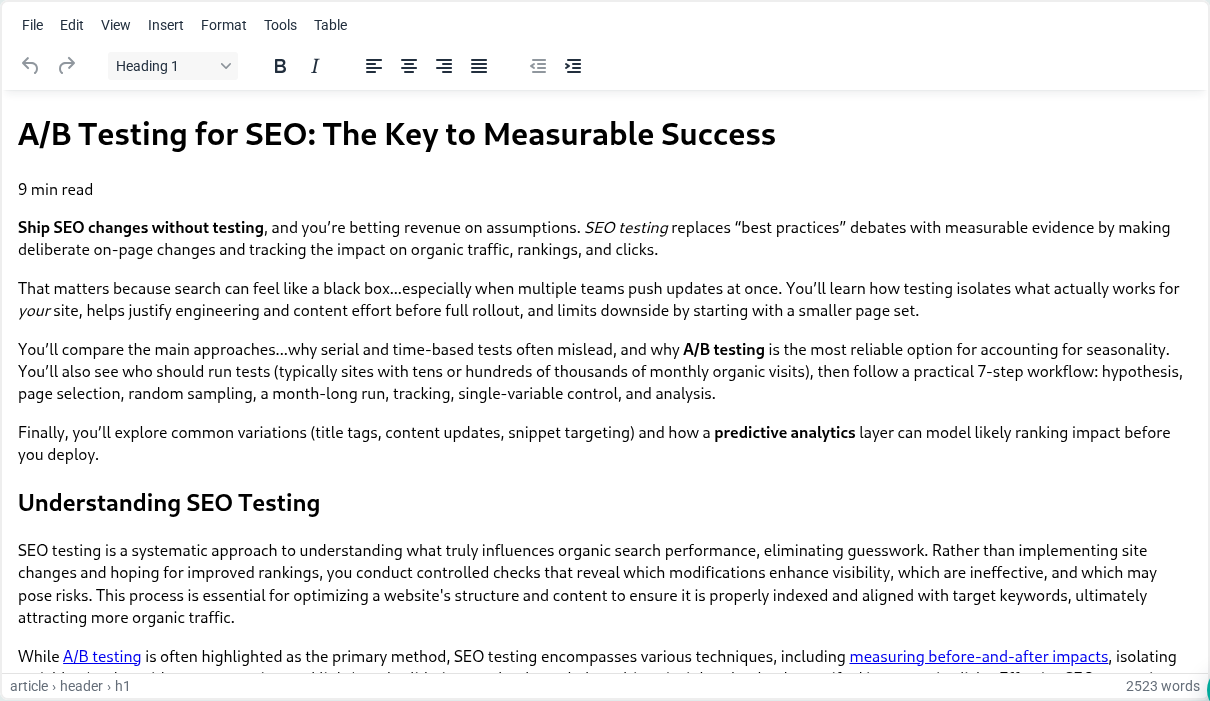
Speak happens after demand is clear. Use the AI Content Dashboard and Content Booster to decide whether to improve an existing page, generate a new answer asset, refresh content, or test current-page fit.
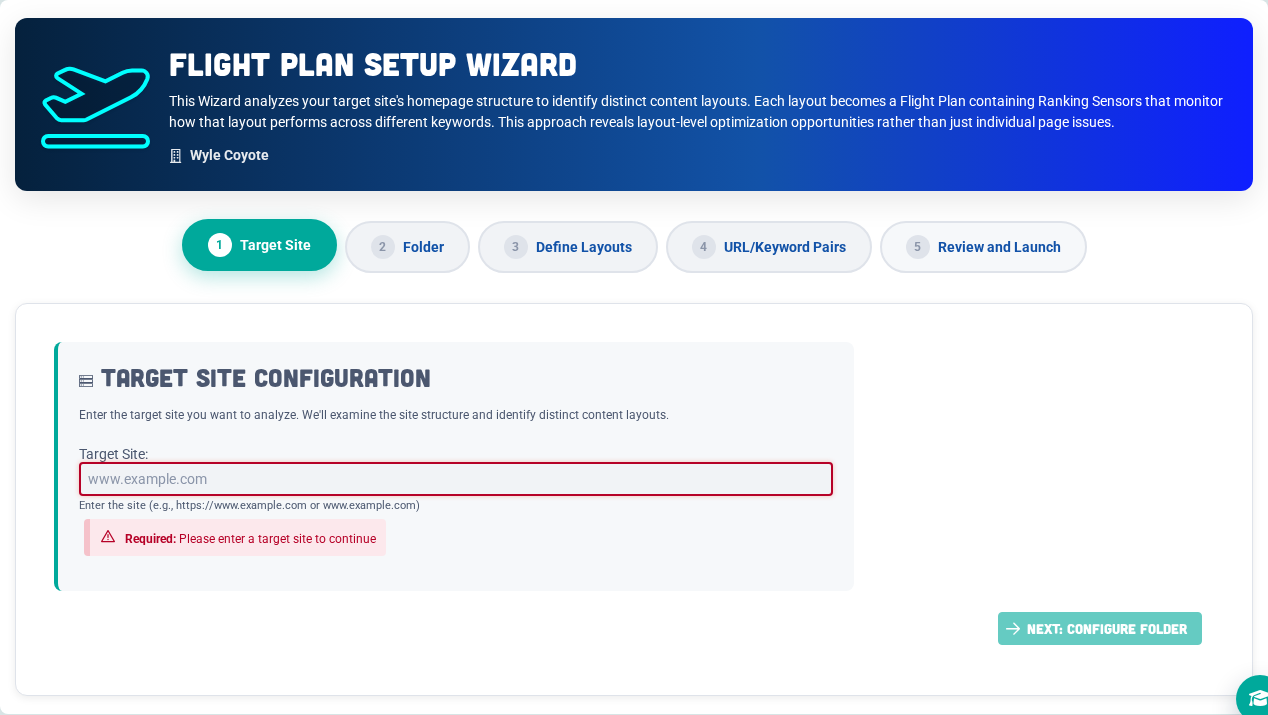
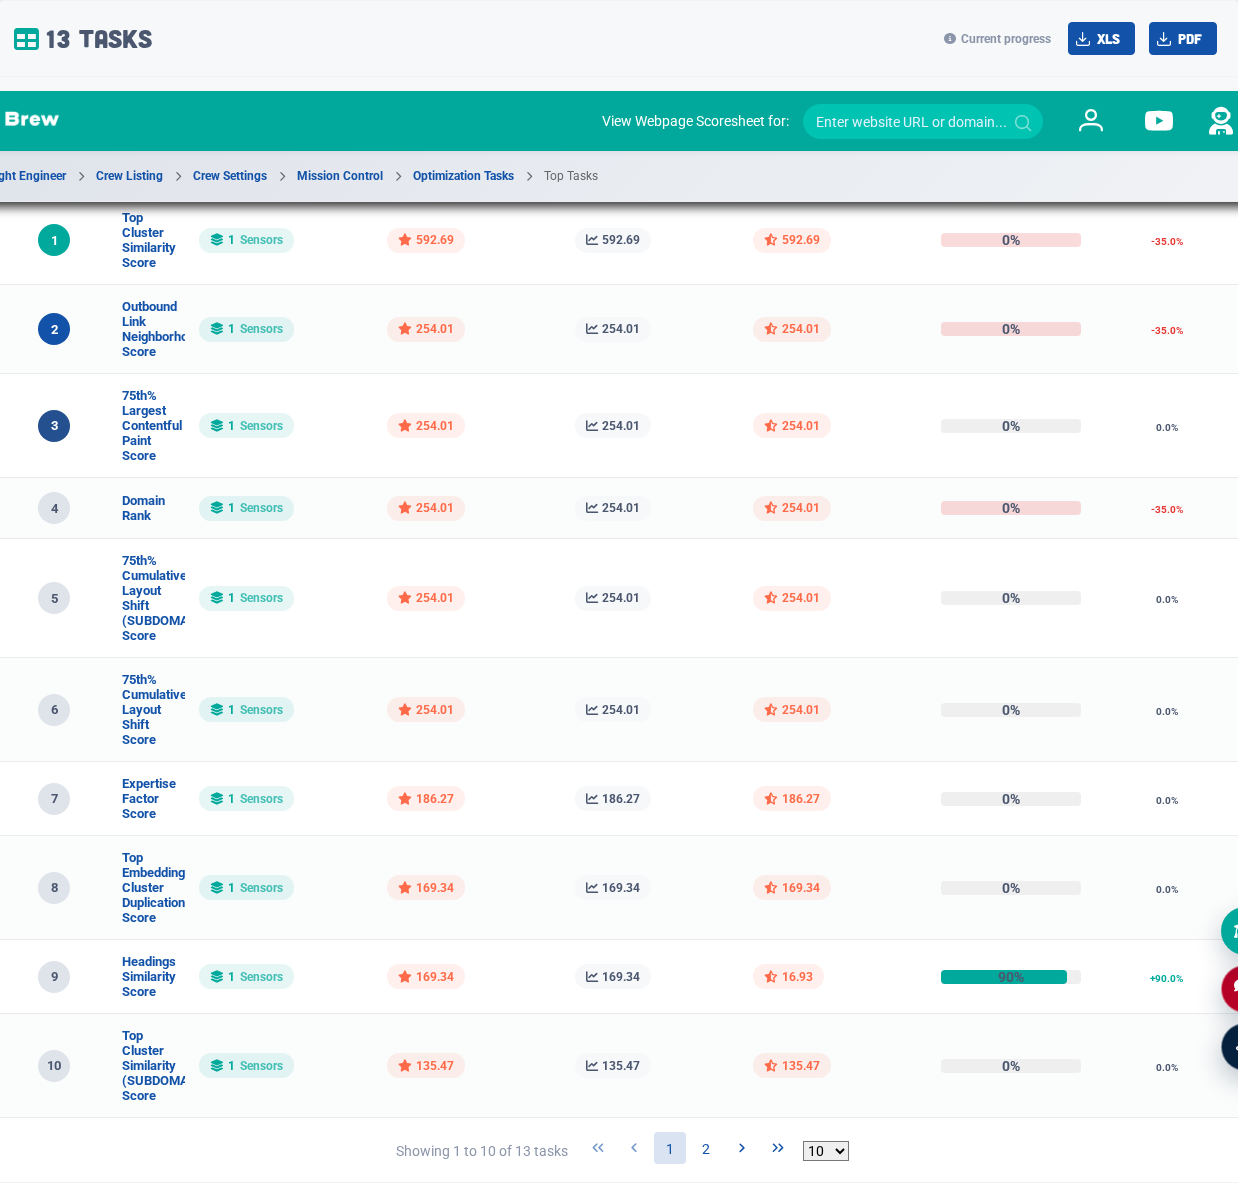
Structural Calibration
See happens through calibrated models. Flight Plans group Ranking Sensors by shared templates, layouts, or site sections. Top Tasks matter most when multiple sensors corroborate the same structural recommendation. Do not treat one Ranking Sensor as the truth. A Flight Plan with 3-5 different representative target pages usually gives better evidence than 3-5 sensors repeating the same target page set.
How It All Works Together
| Layer | Purpose |
|---|---|
| Foundation | Crawl the website and build the modeled site graph. |
| See | Use calibration queries, Ranking Sensors, Flight Plans, and Top Tasks to reveal repeated structural issues. |
| Hear | Collect audience, market, keyword, entity, and social signals through Ask, Listen, Keyword Fueler, Bridge, and EyesOver. |
| Speak | Use AI Content Dashboard and Content Booster to create or improve content for a specific SERP, keyword, prompt, or opportunity. |